Sometimes you can buy a tool off the shelf, and sometimes it’s not so easy. We needed a tool called a fly-cutter that’s used to make large, flat surfaces on pieces of metal. The ones available off the shelf wouldn’t do a large enough surface, so we made our own!
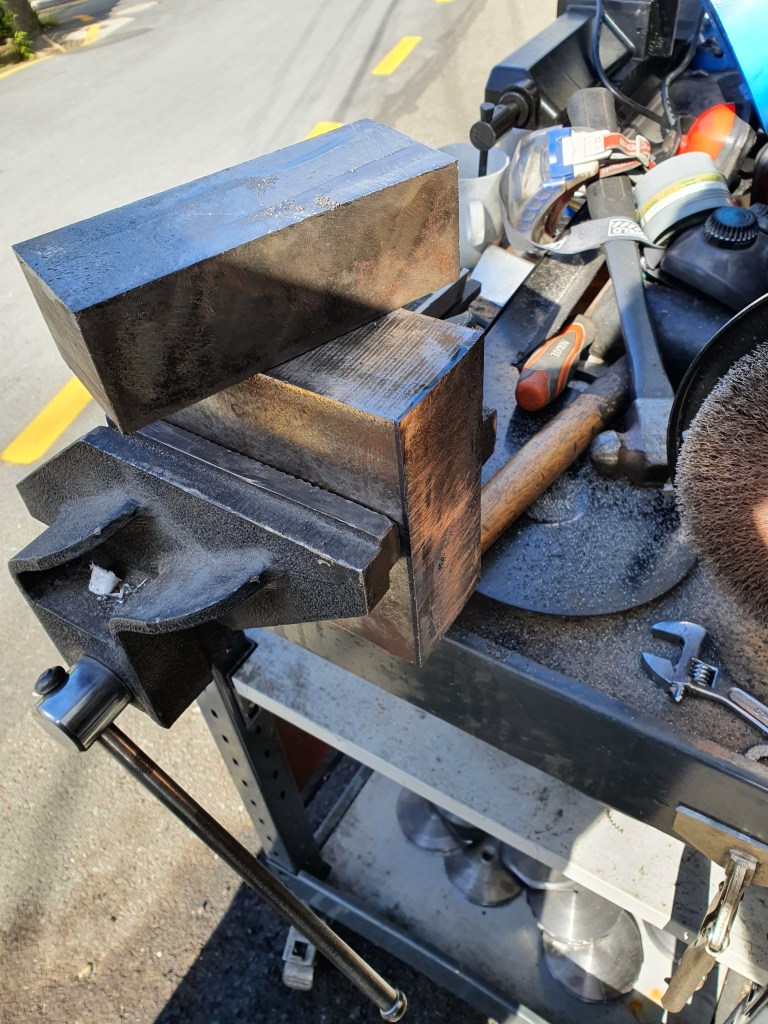
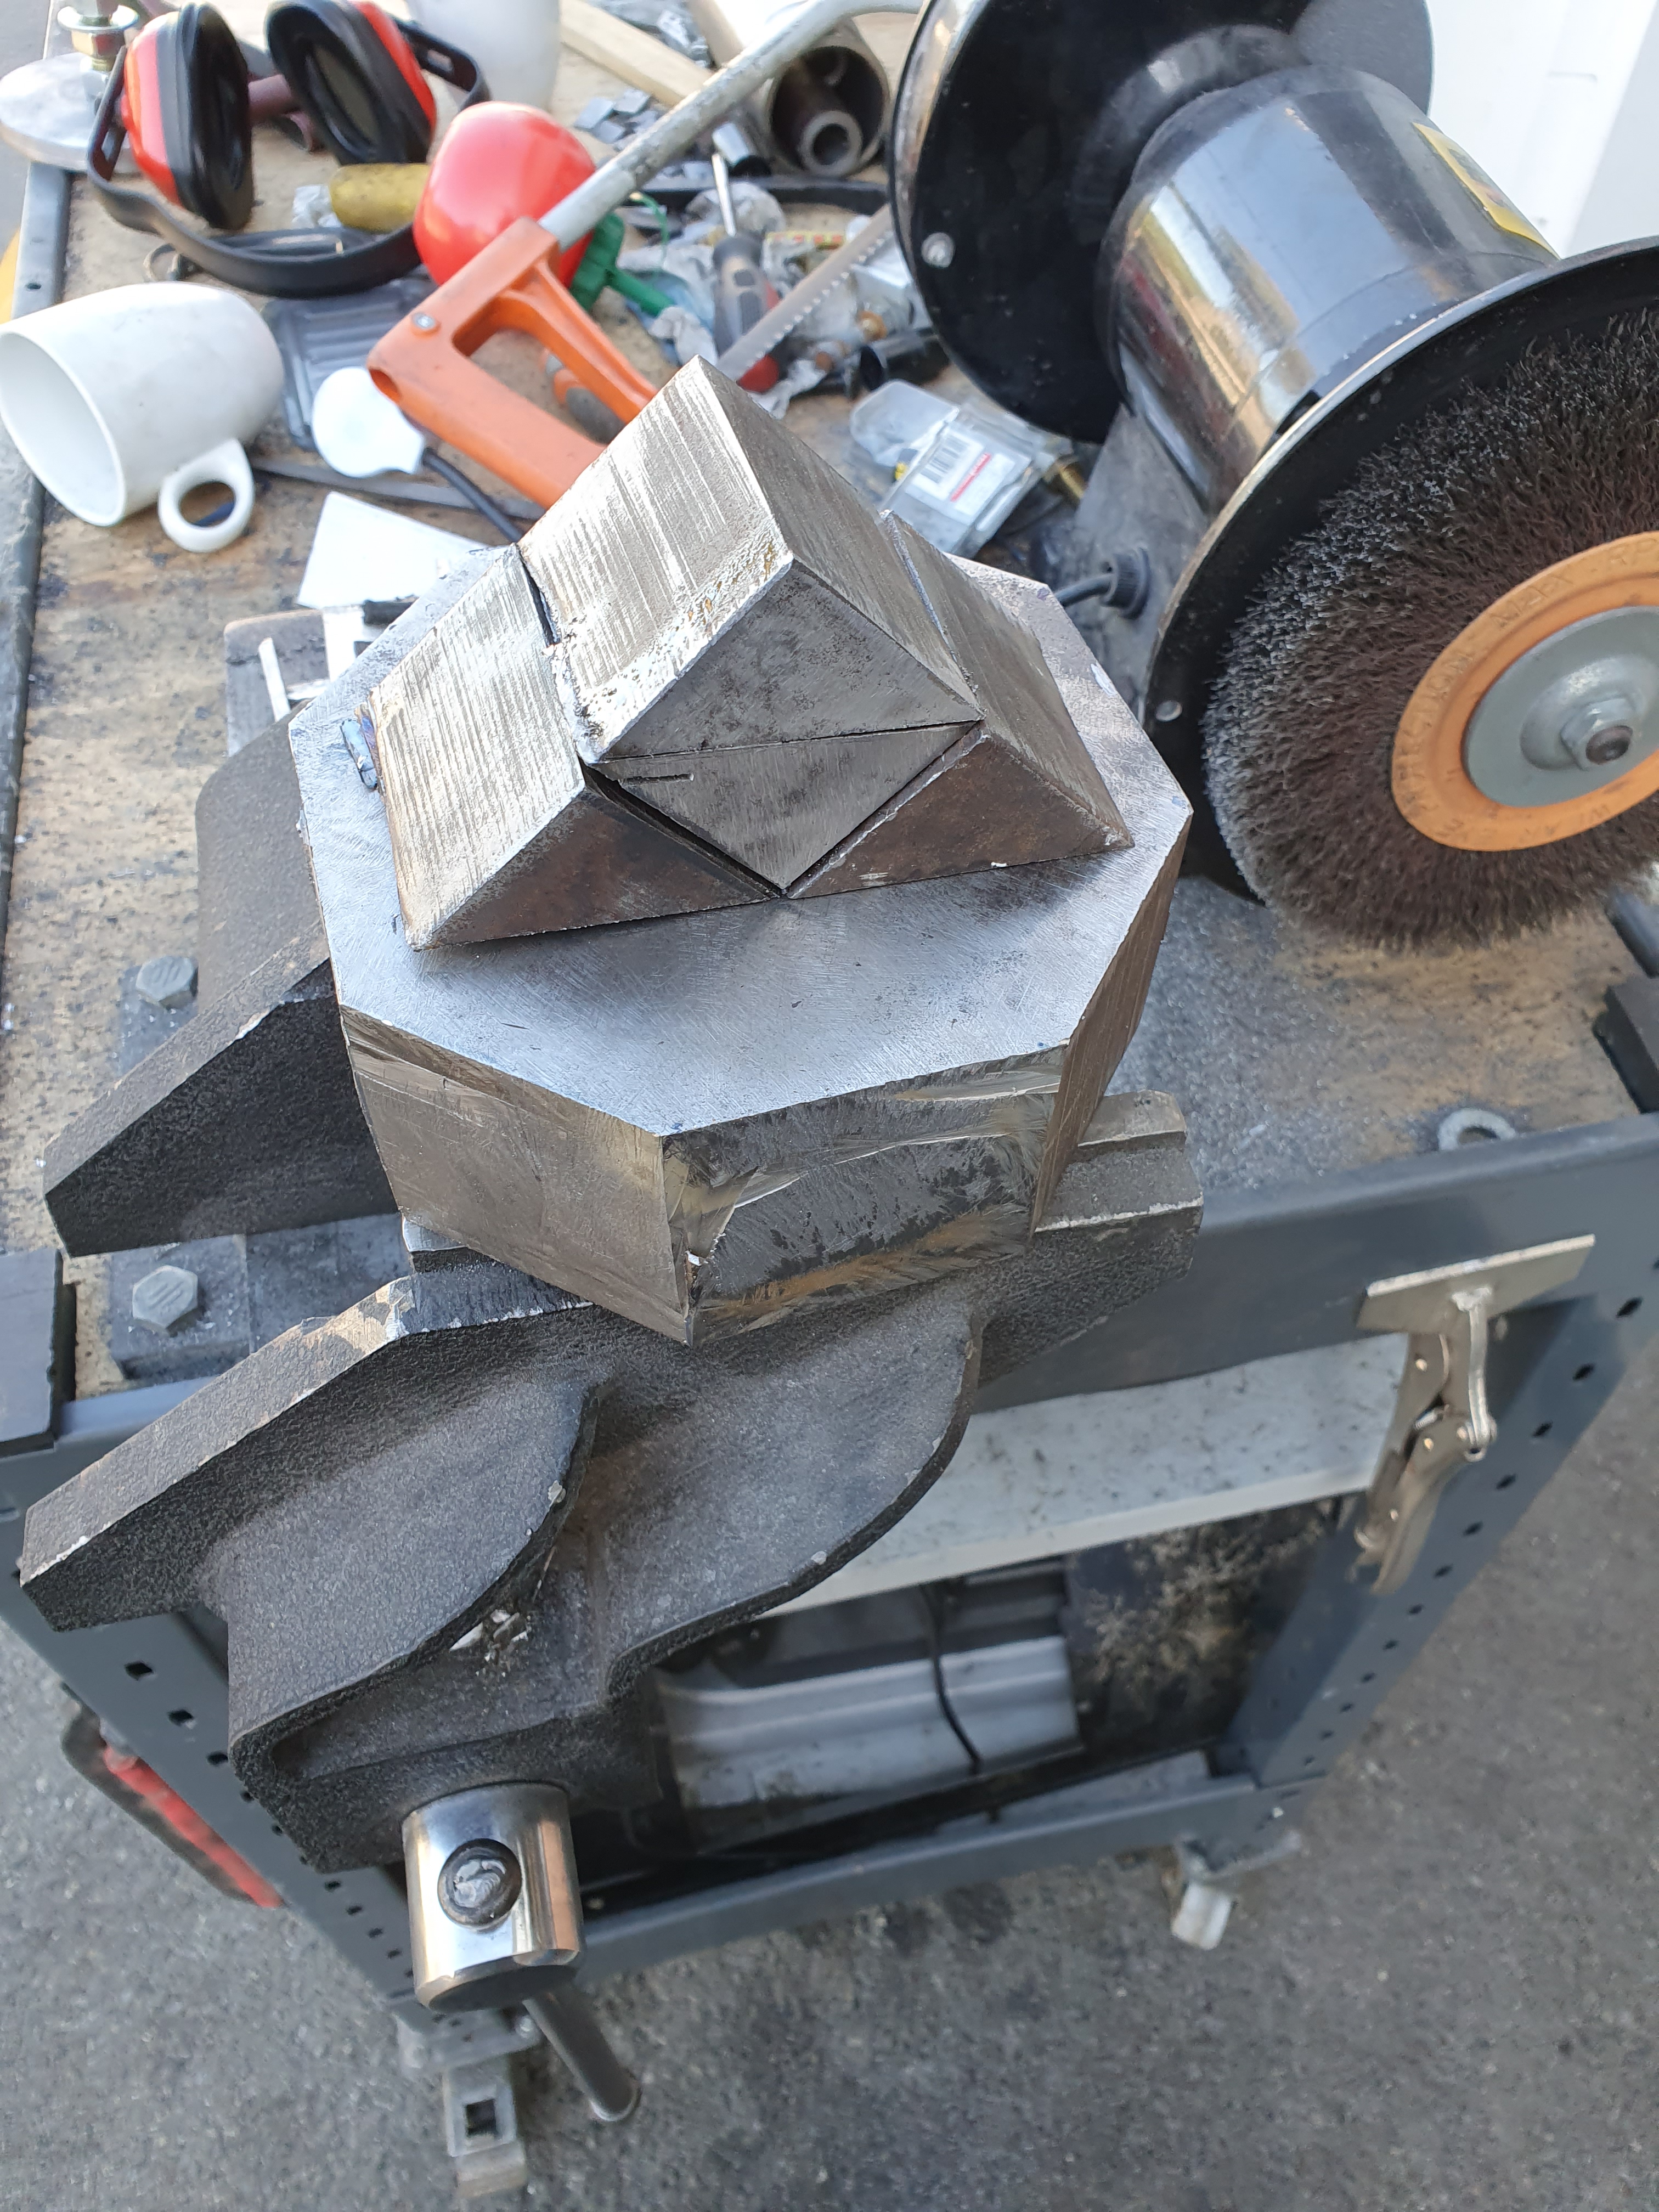
The first step is getting the raw material in the right shape. Getting round stock of the correct thickess was cost-prohibitive, so we sourced a small rectangle of steel, cut it square and then cut it into a hexagon, ready to go in the lathe. Being adaptable is one of the key things to keep costs down, and get the job done.
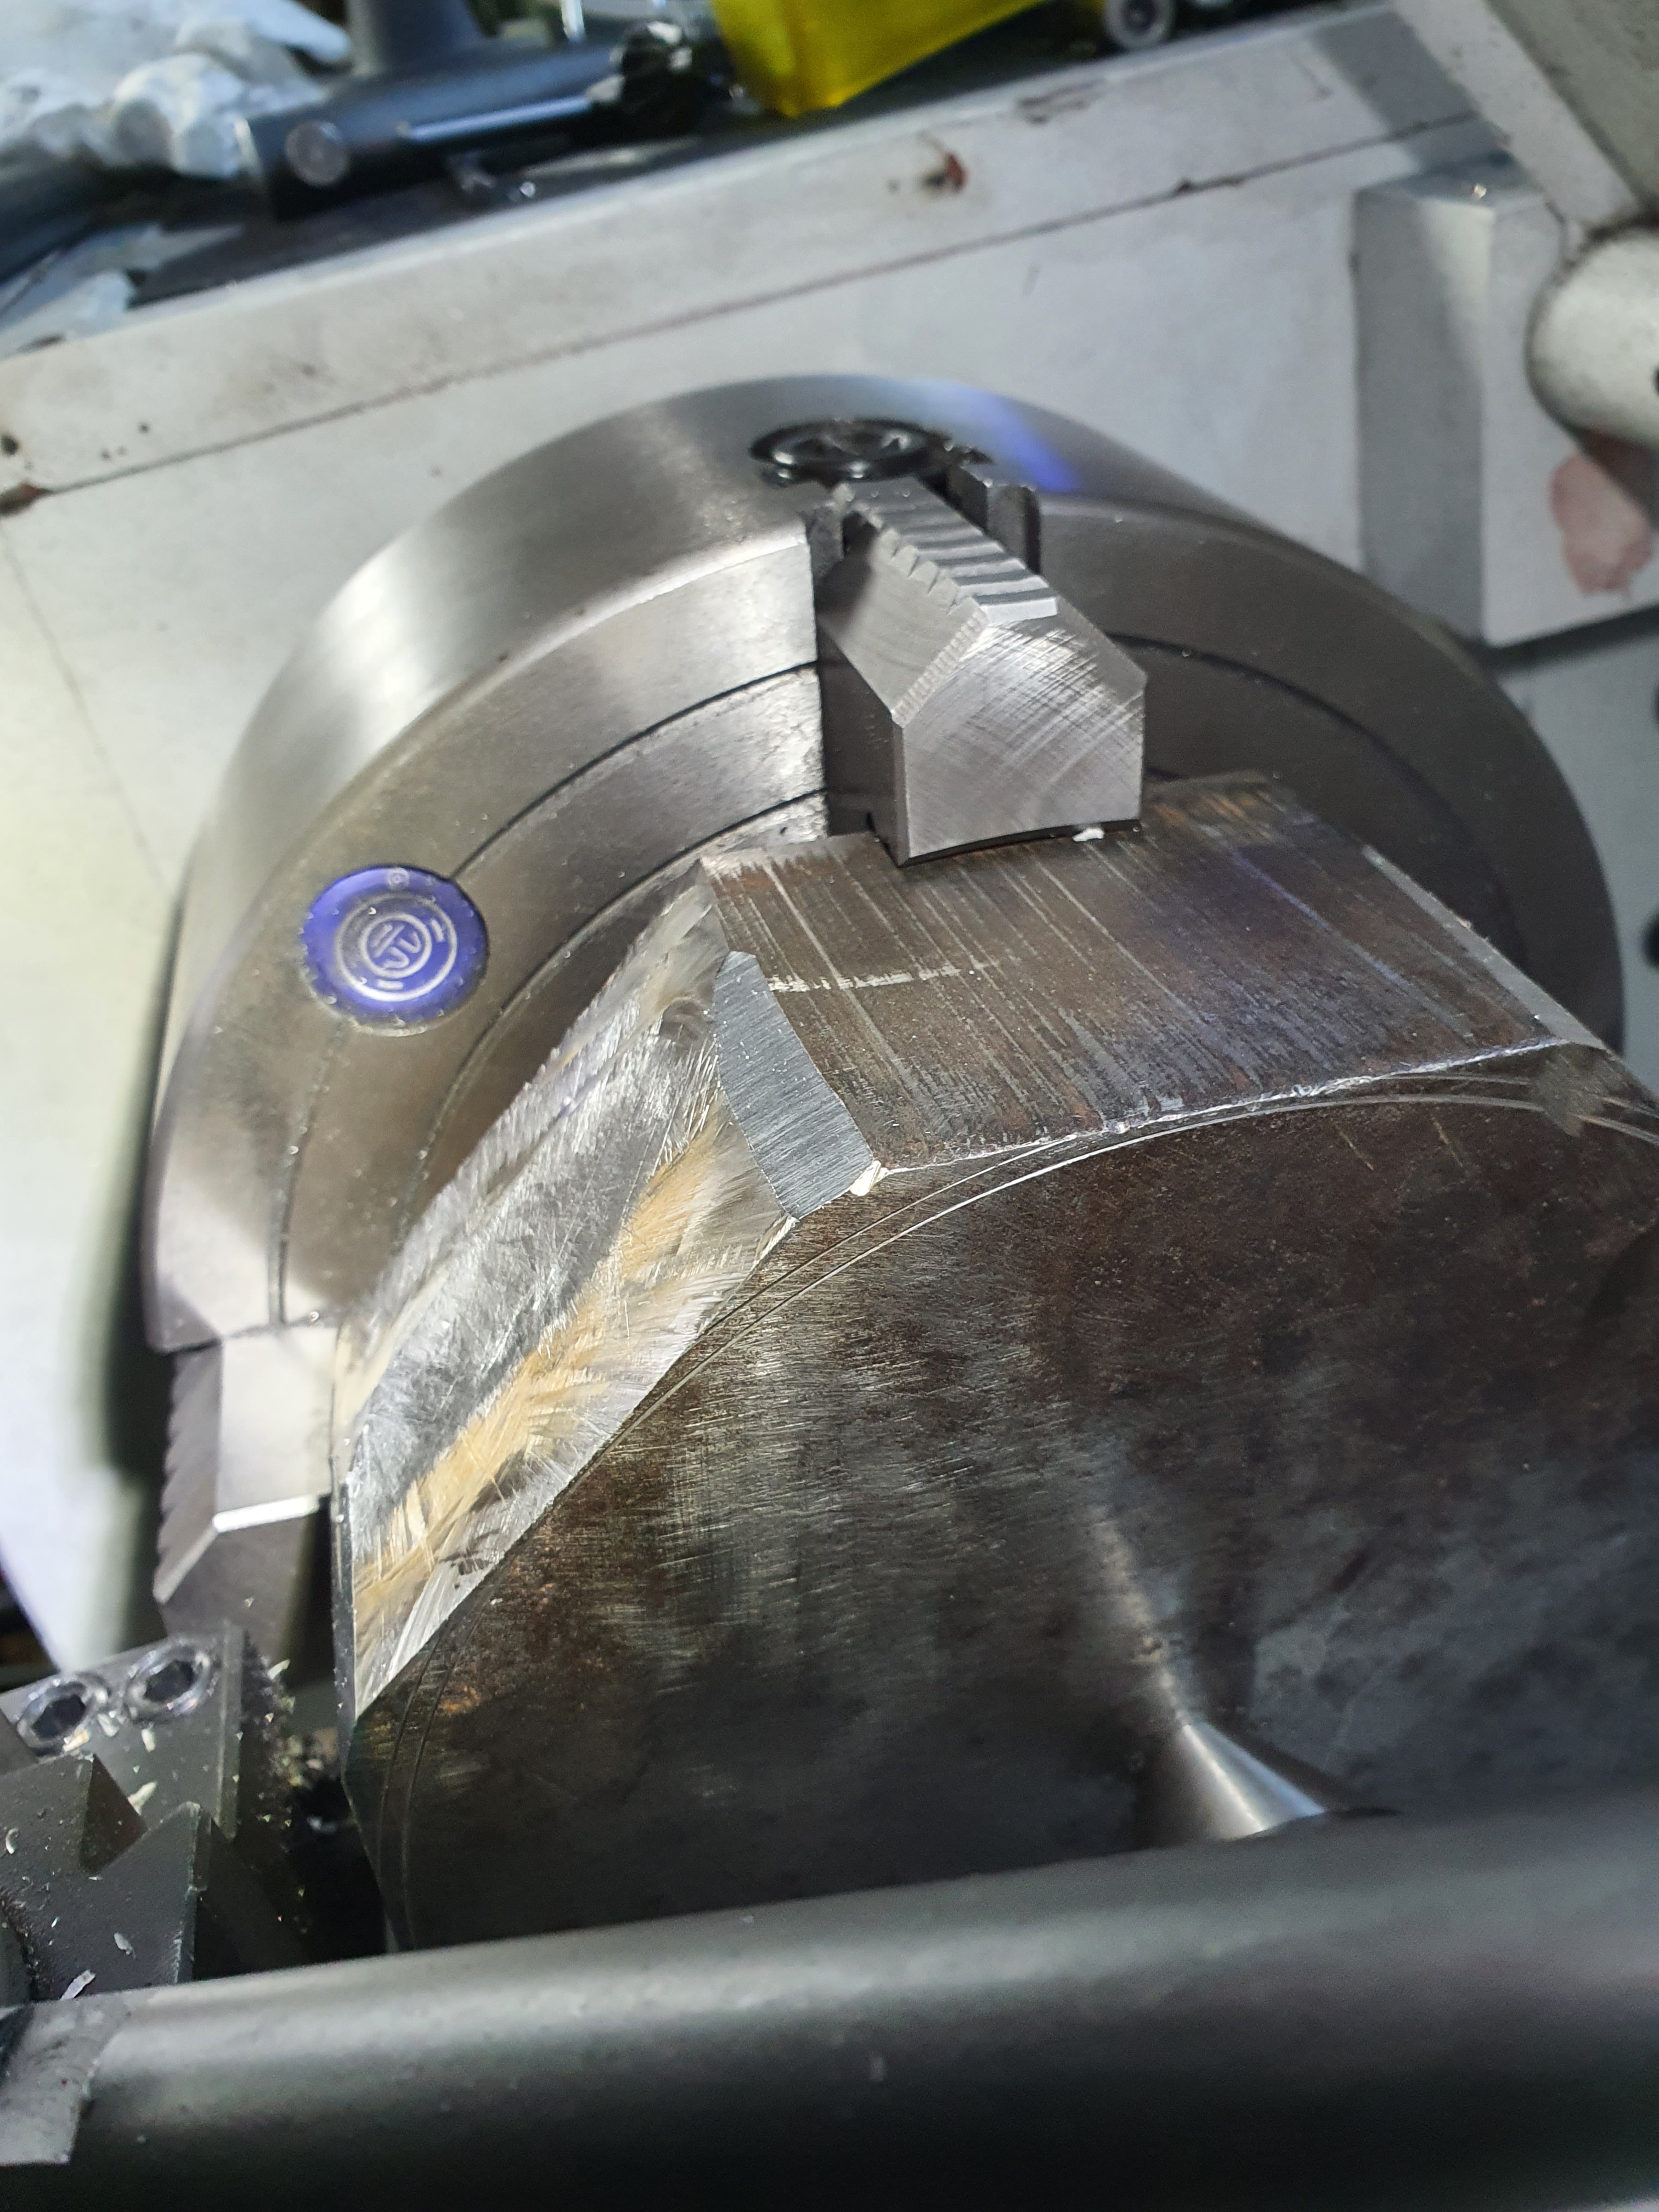
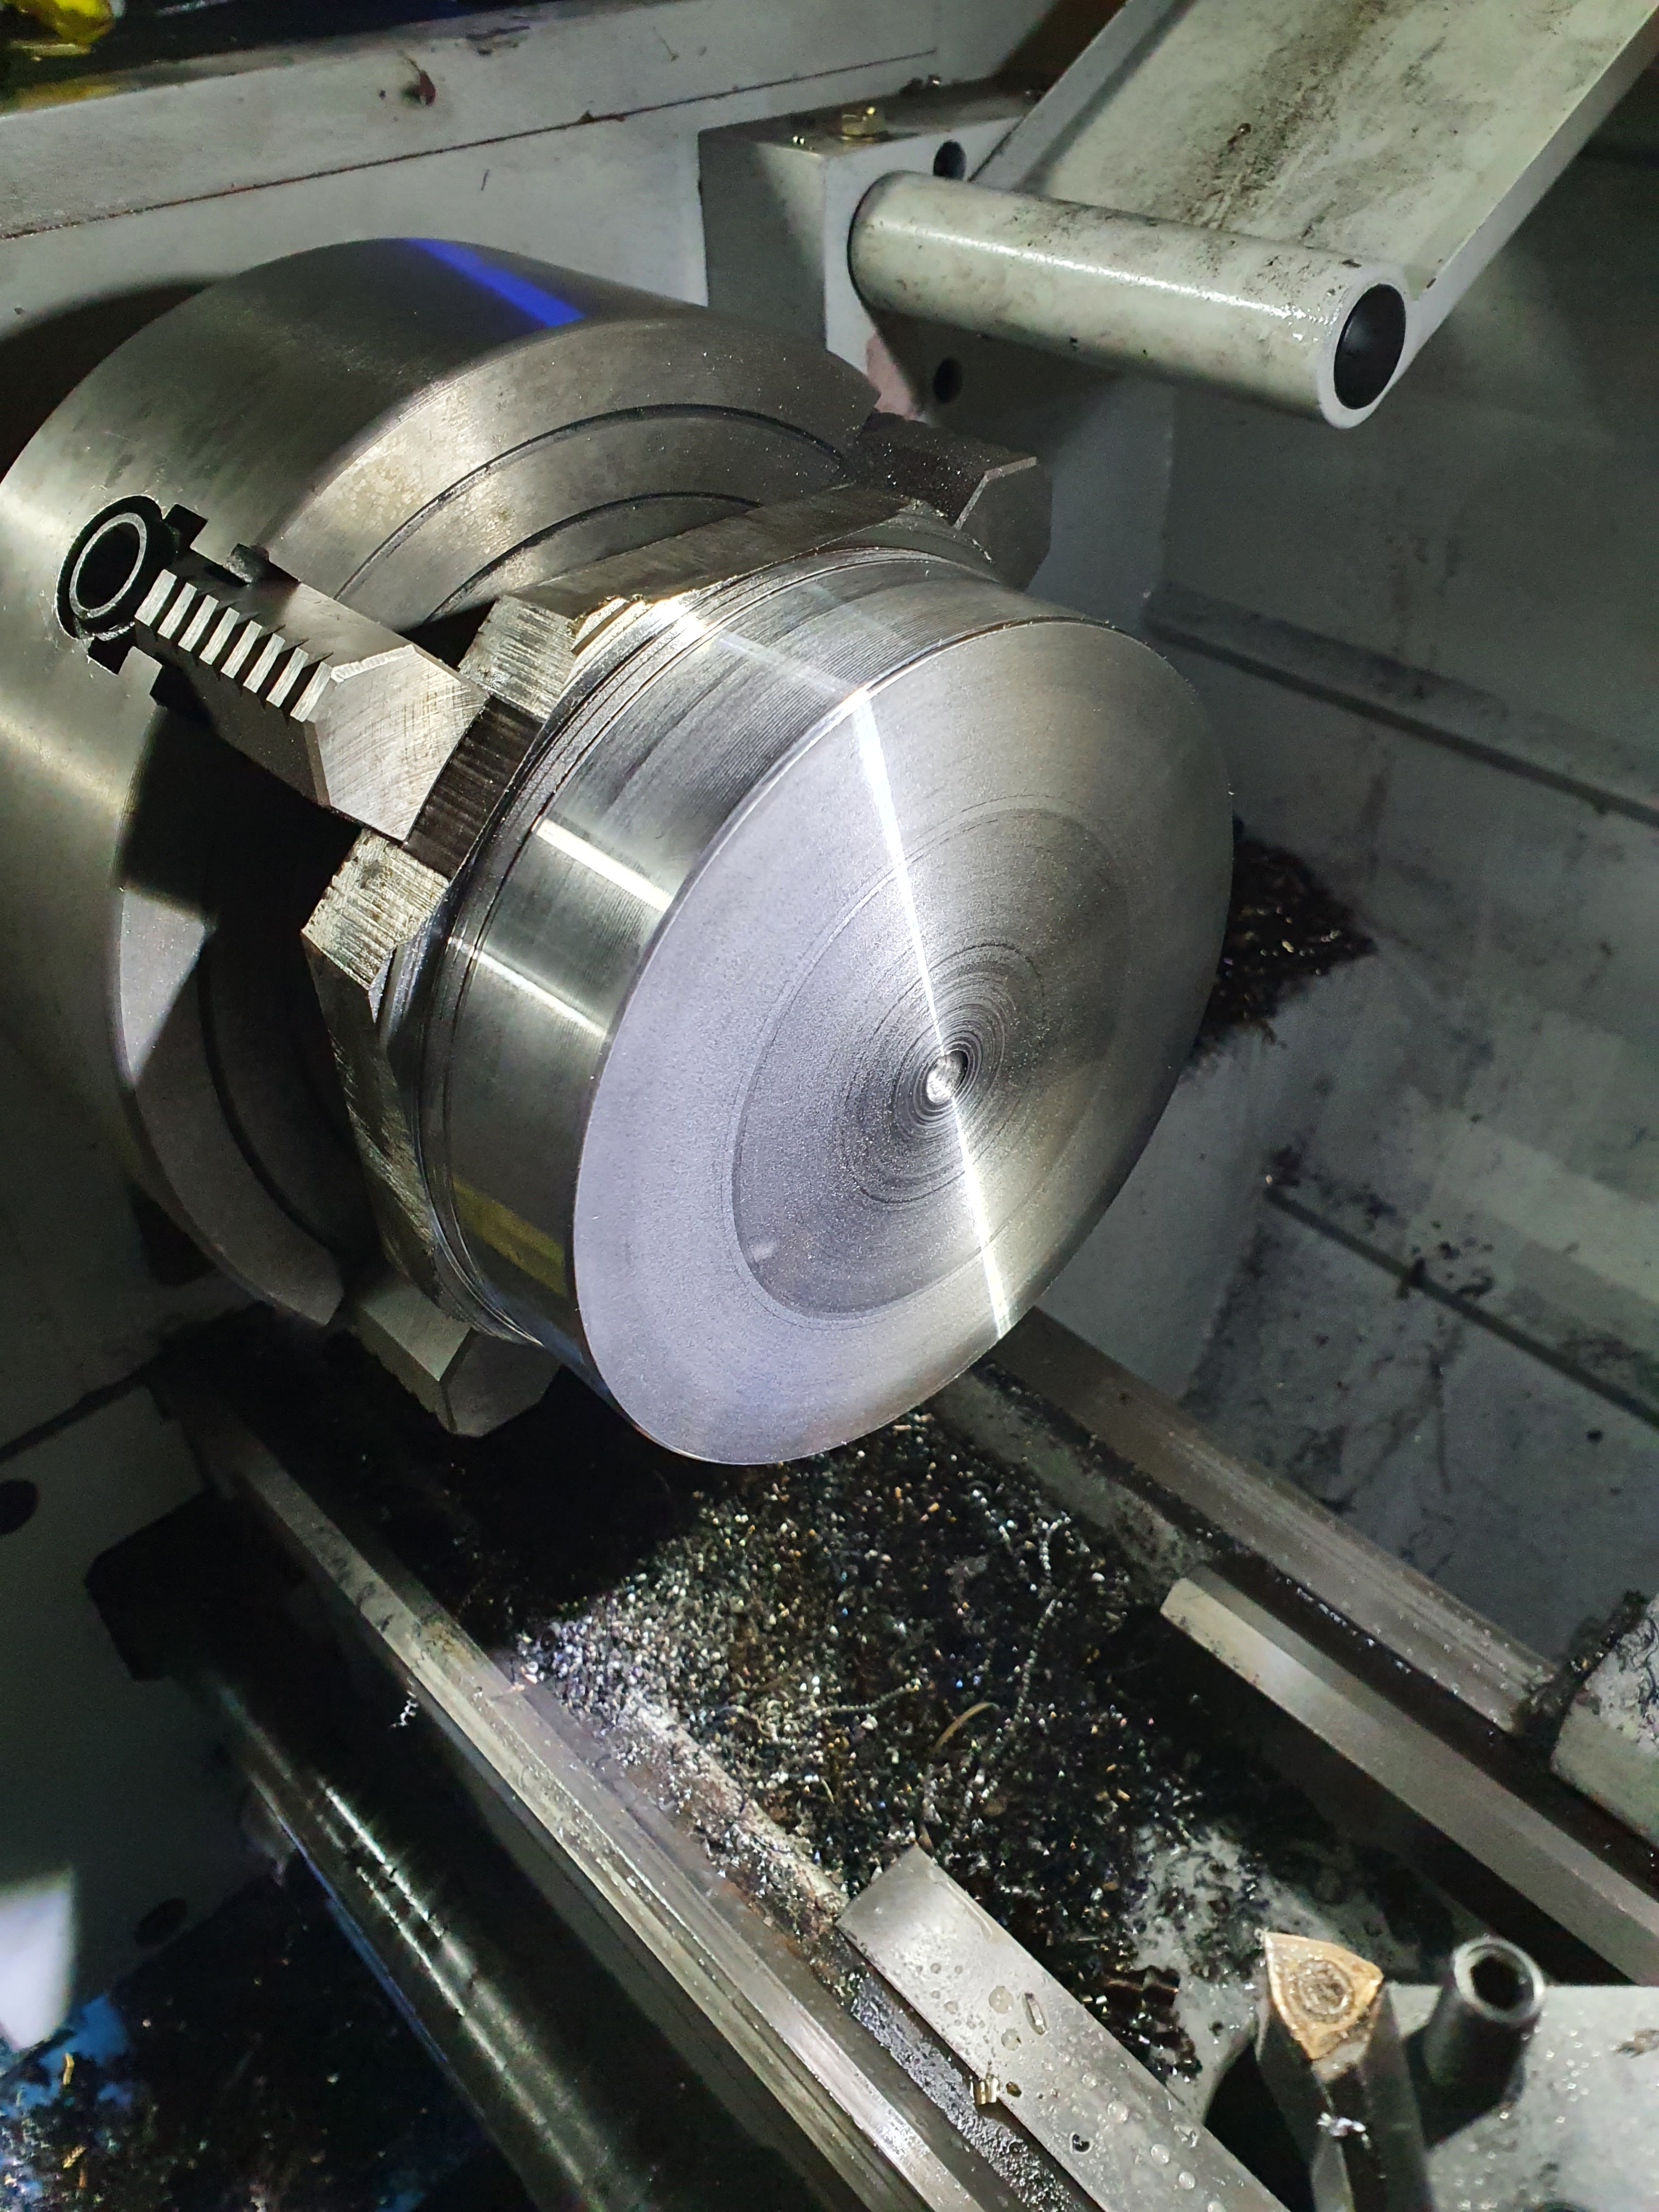
Once in the lathe, we gradually cut away at the edges to make it round. Once we did the front, we flipped it round to do the back, making it into a stubby cylinder.
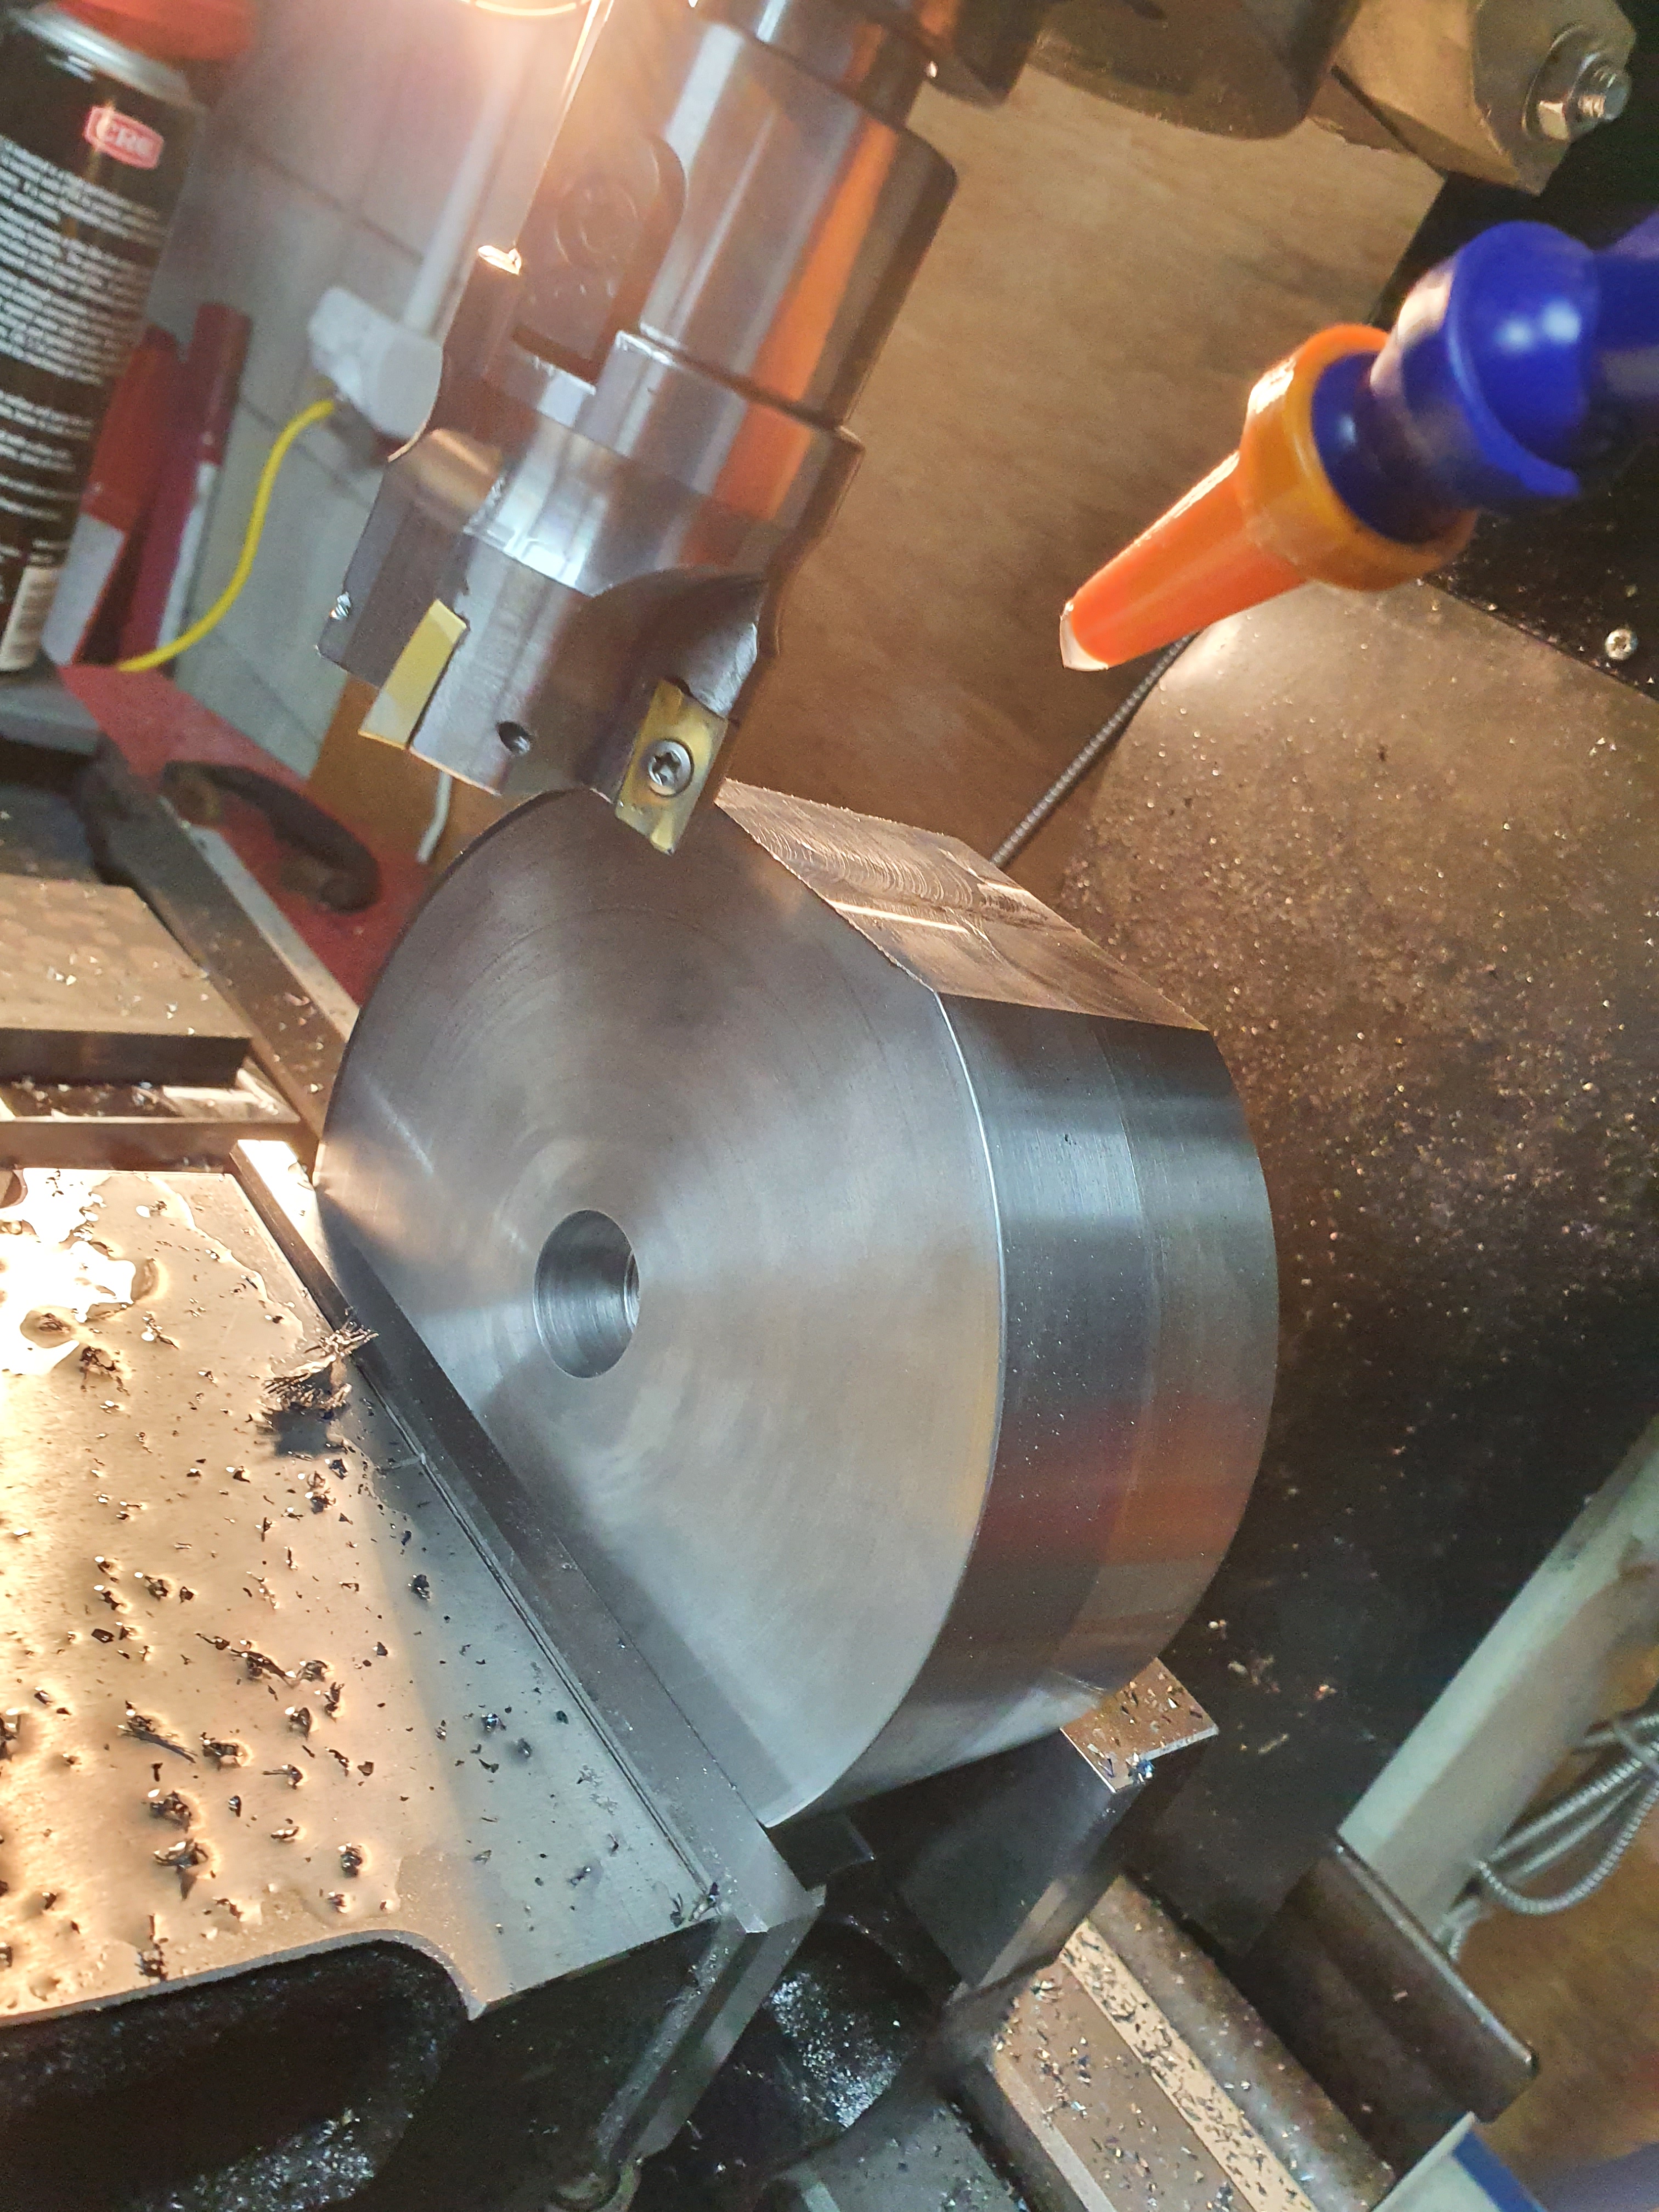
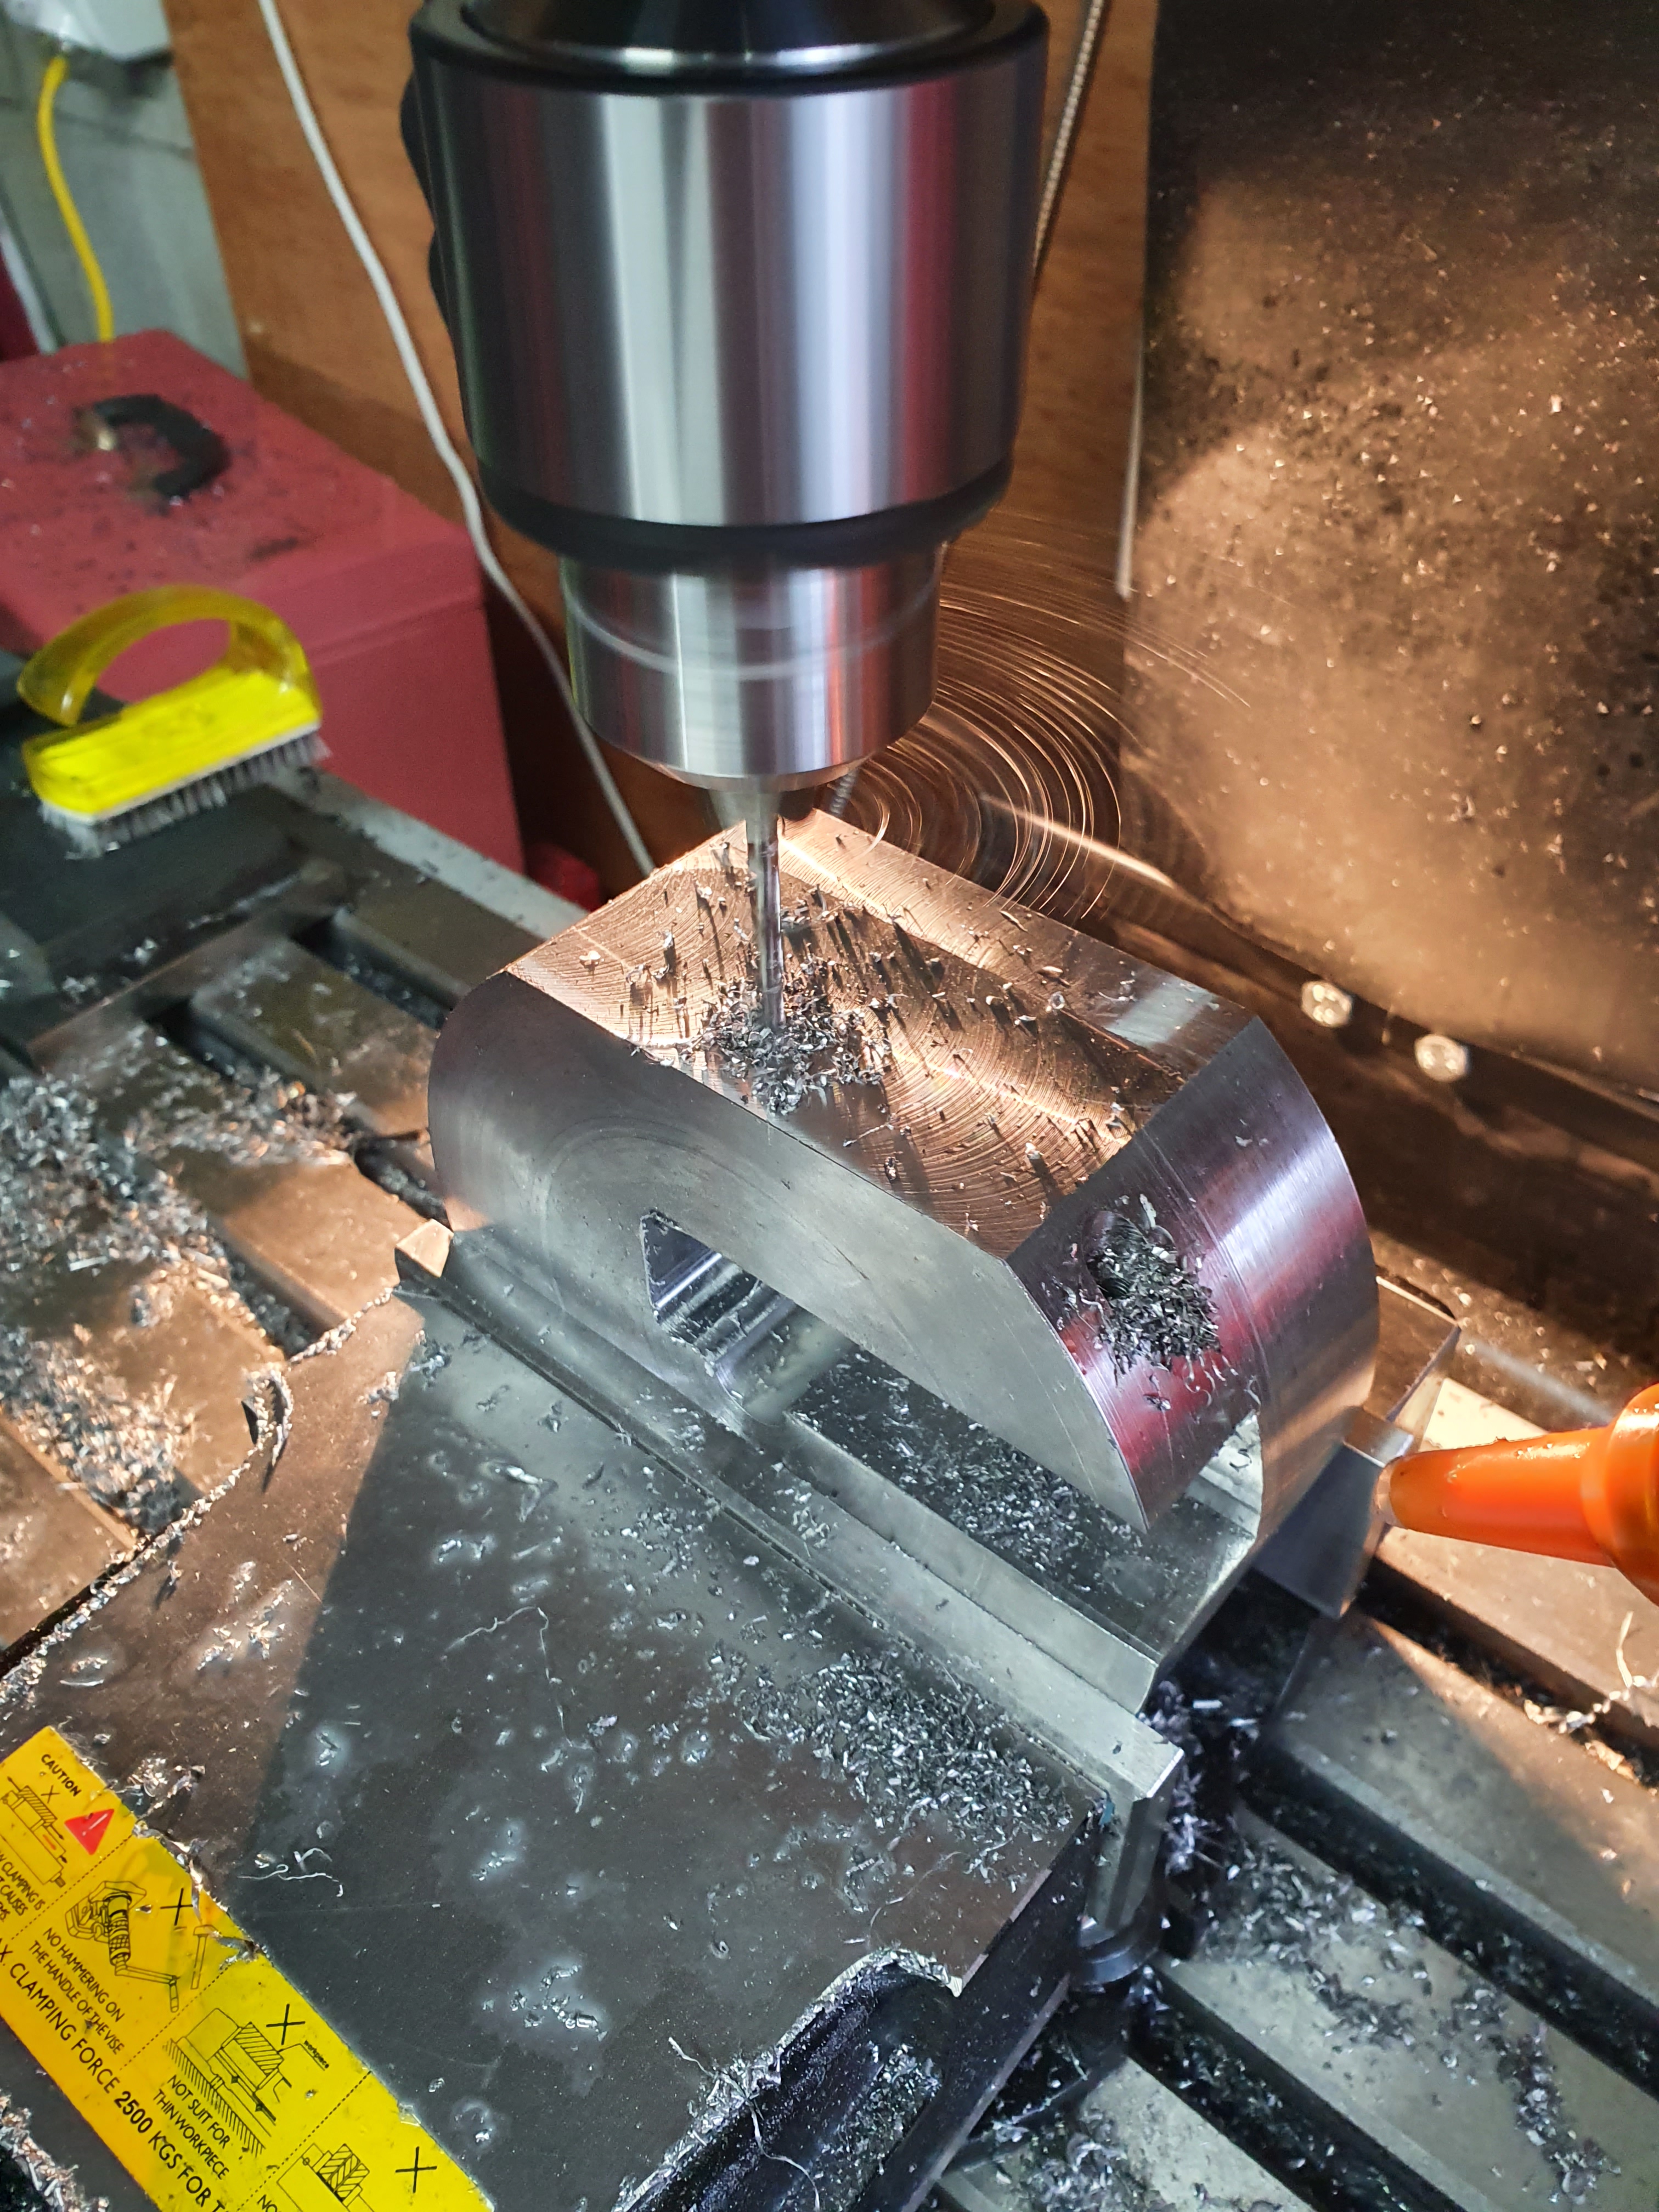
After that, into the mill for some more shaping. When it’s finished, the tool will turn an arm in the mill, with a cutting bit at the end. To give a good cut, you don’t want the cutting bit slowing down or wobbling when it hits the steel it’s cutting. To do this, we’ve chosen a large mass of steel. We cut the side off this to reduce the weight a bit, which was otherwise overkill!
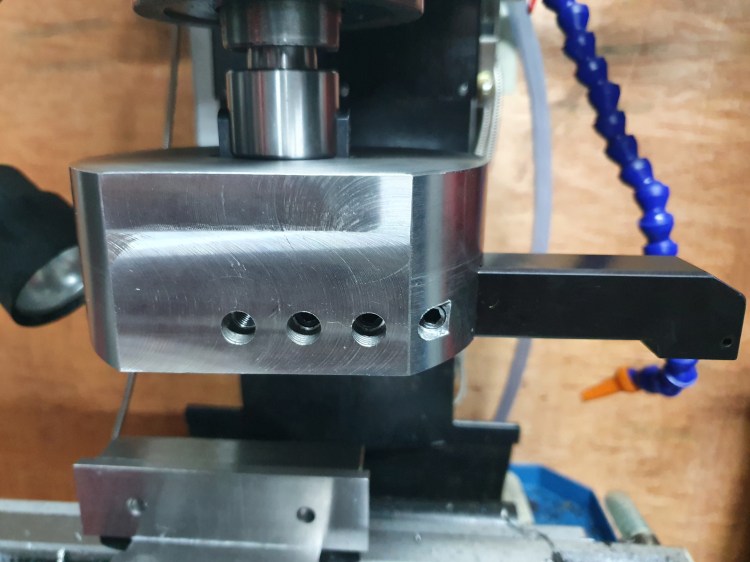
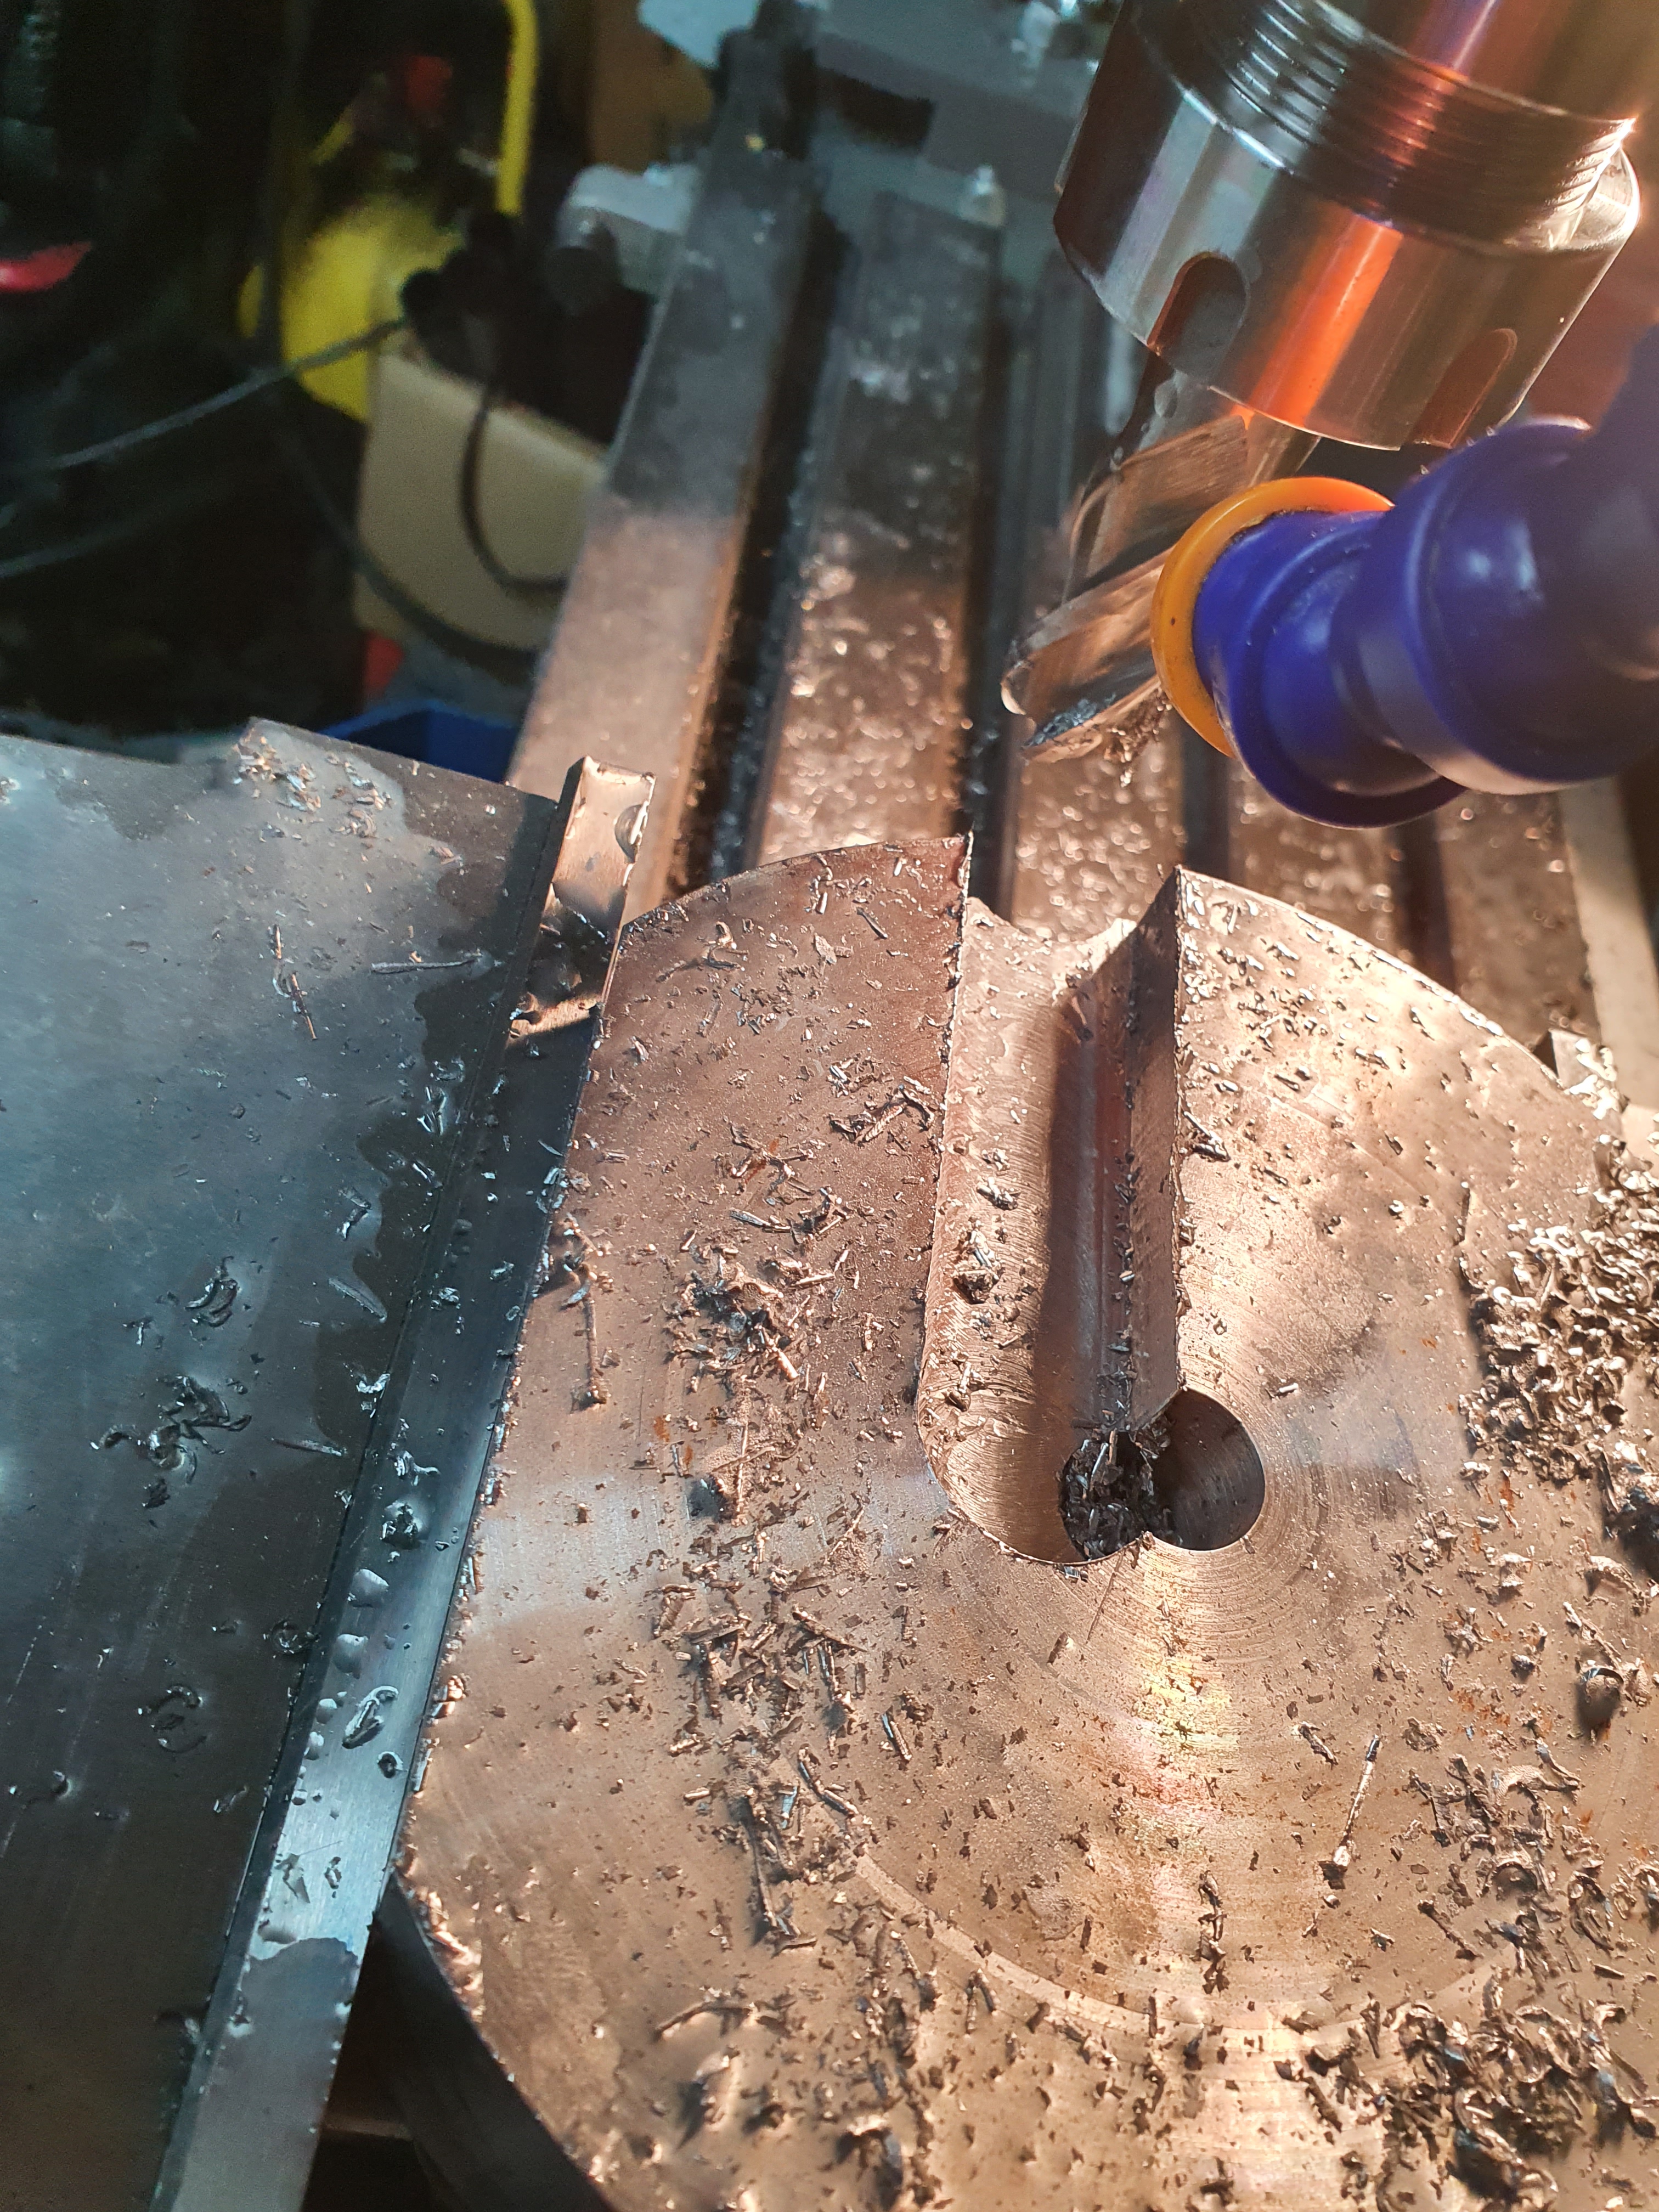
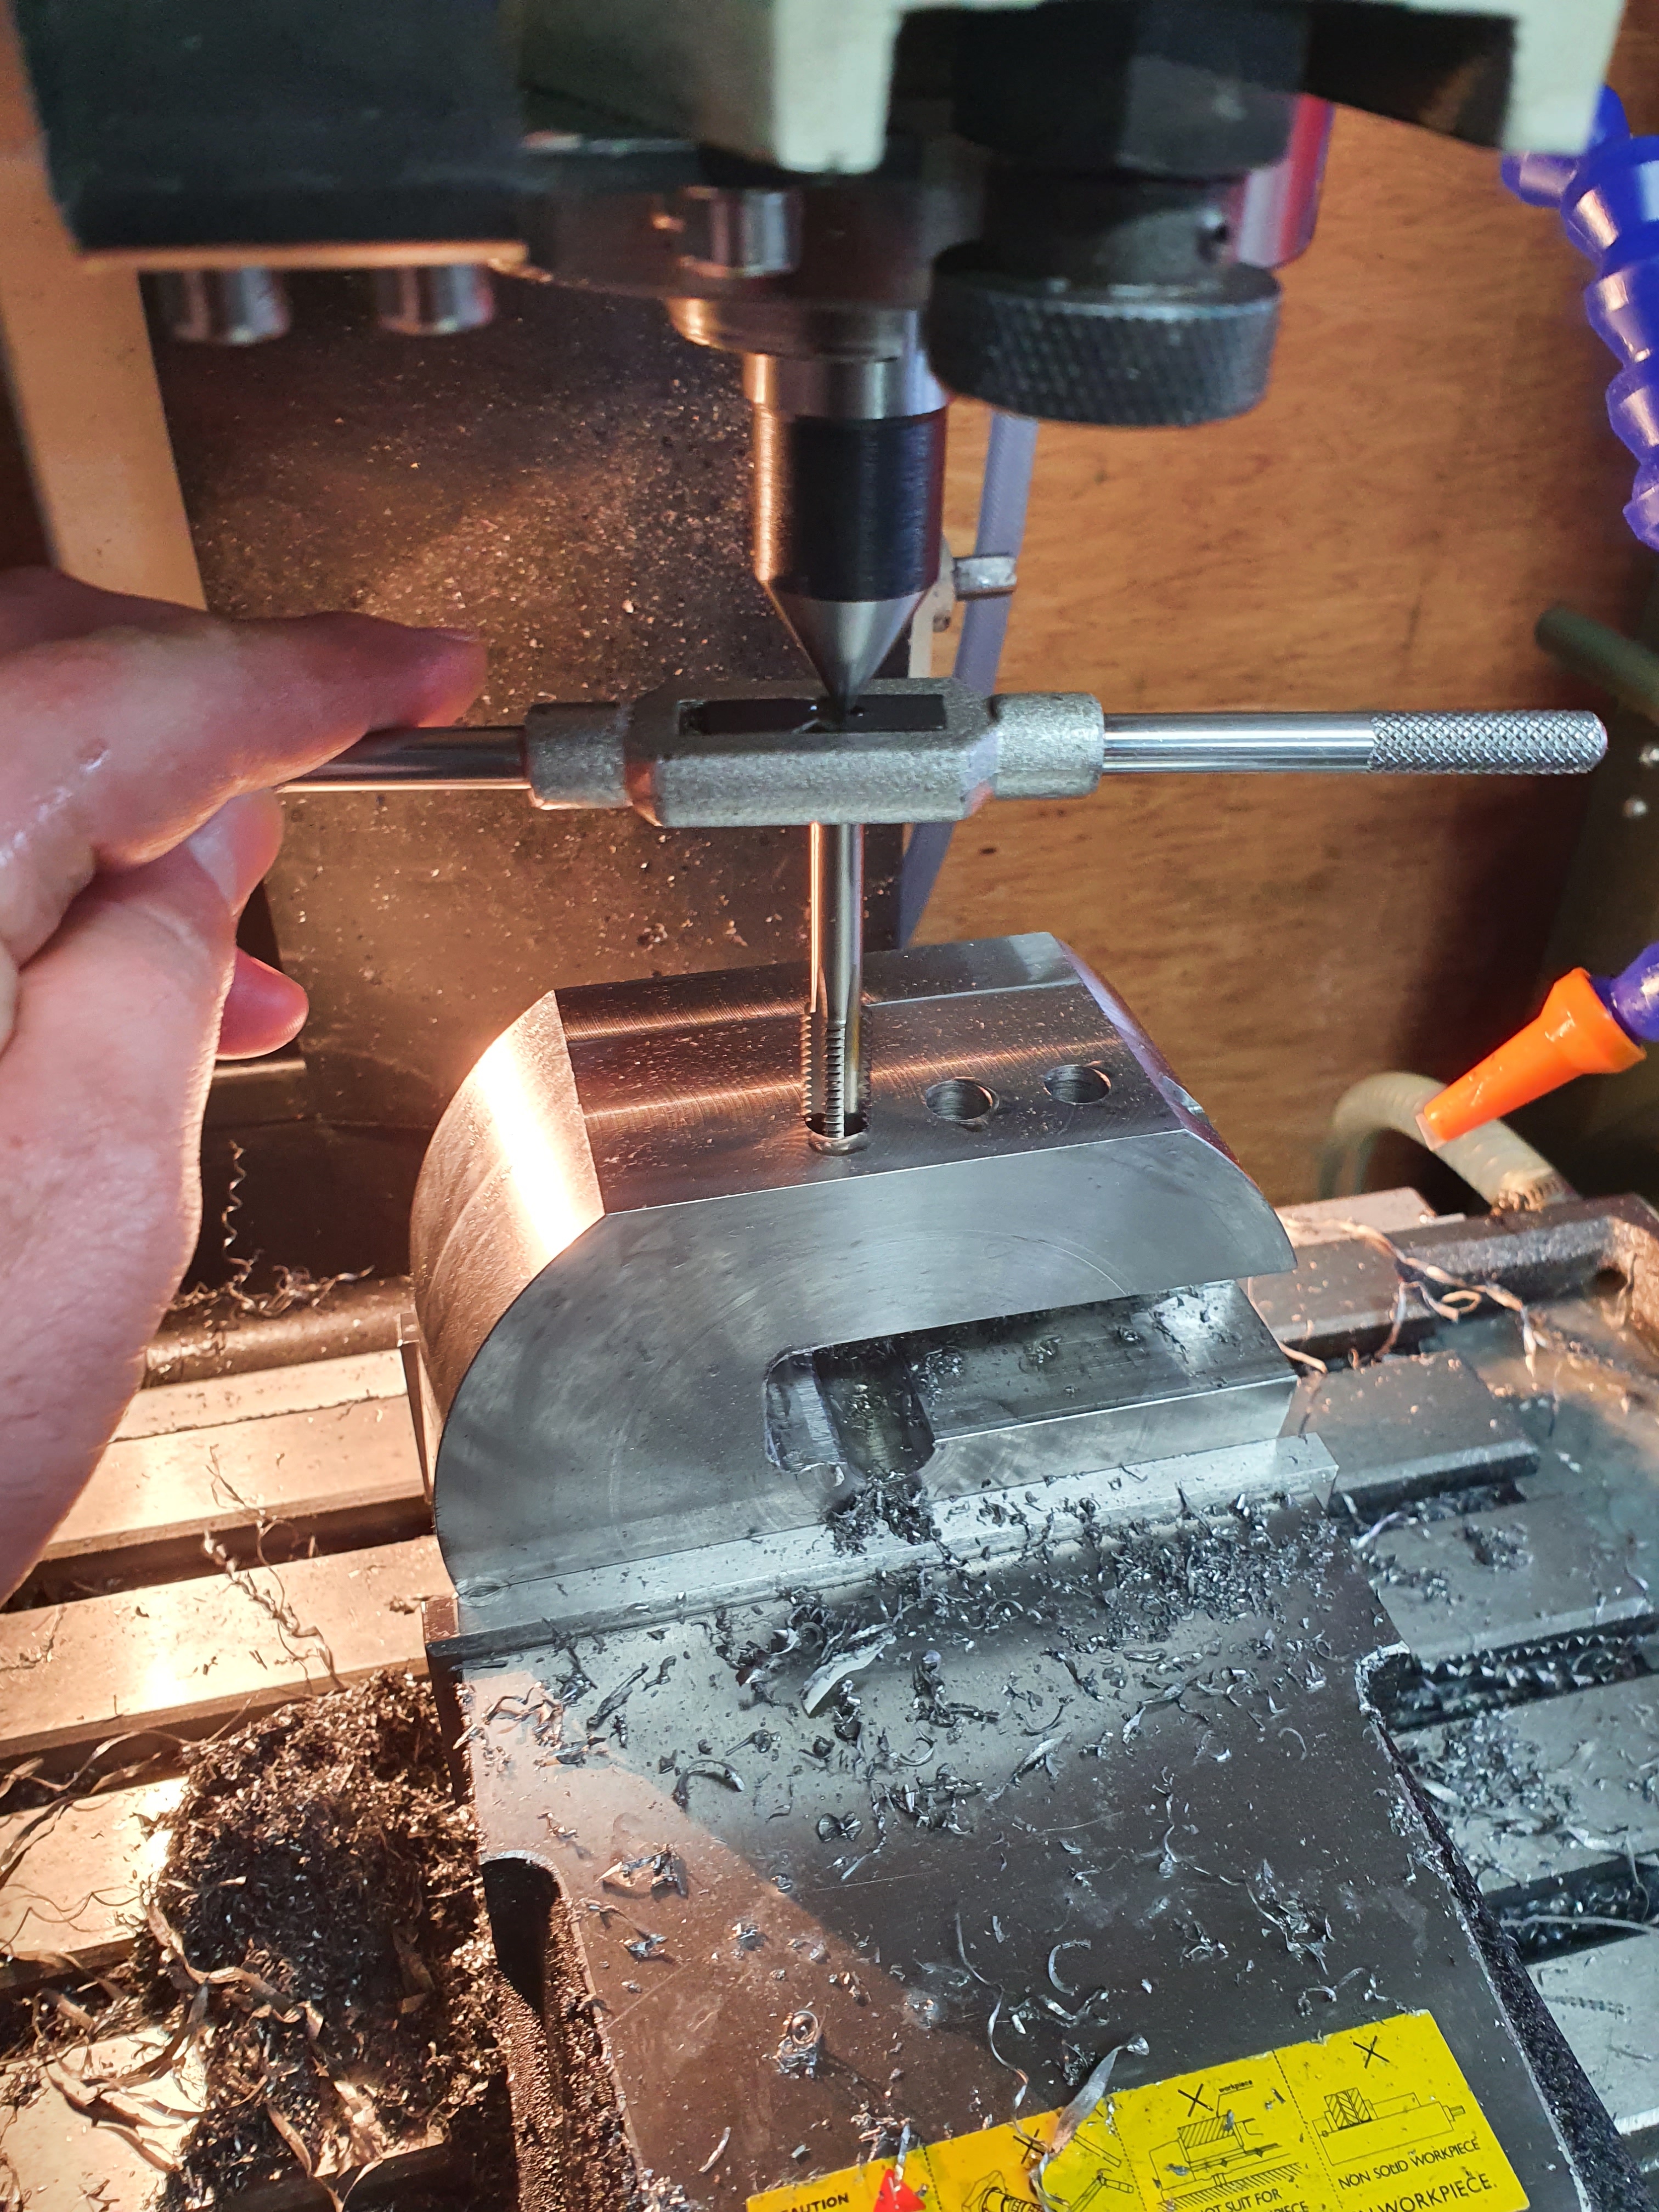
Then cutting out all the holes for the arm and attachement to the mill. It’s vital these are a good tight fit – if it moves around at all, this movement will be amplified in the flat surface we cut with it later on.
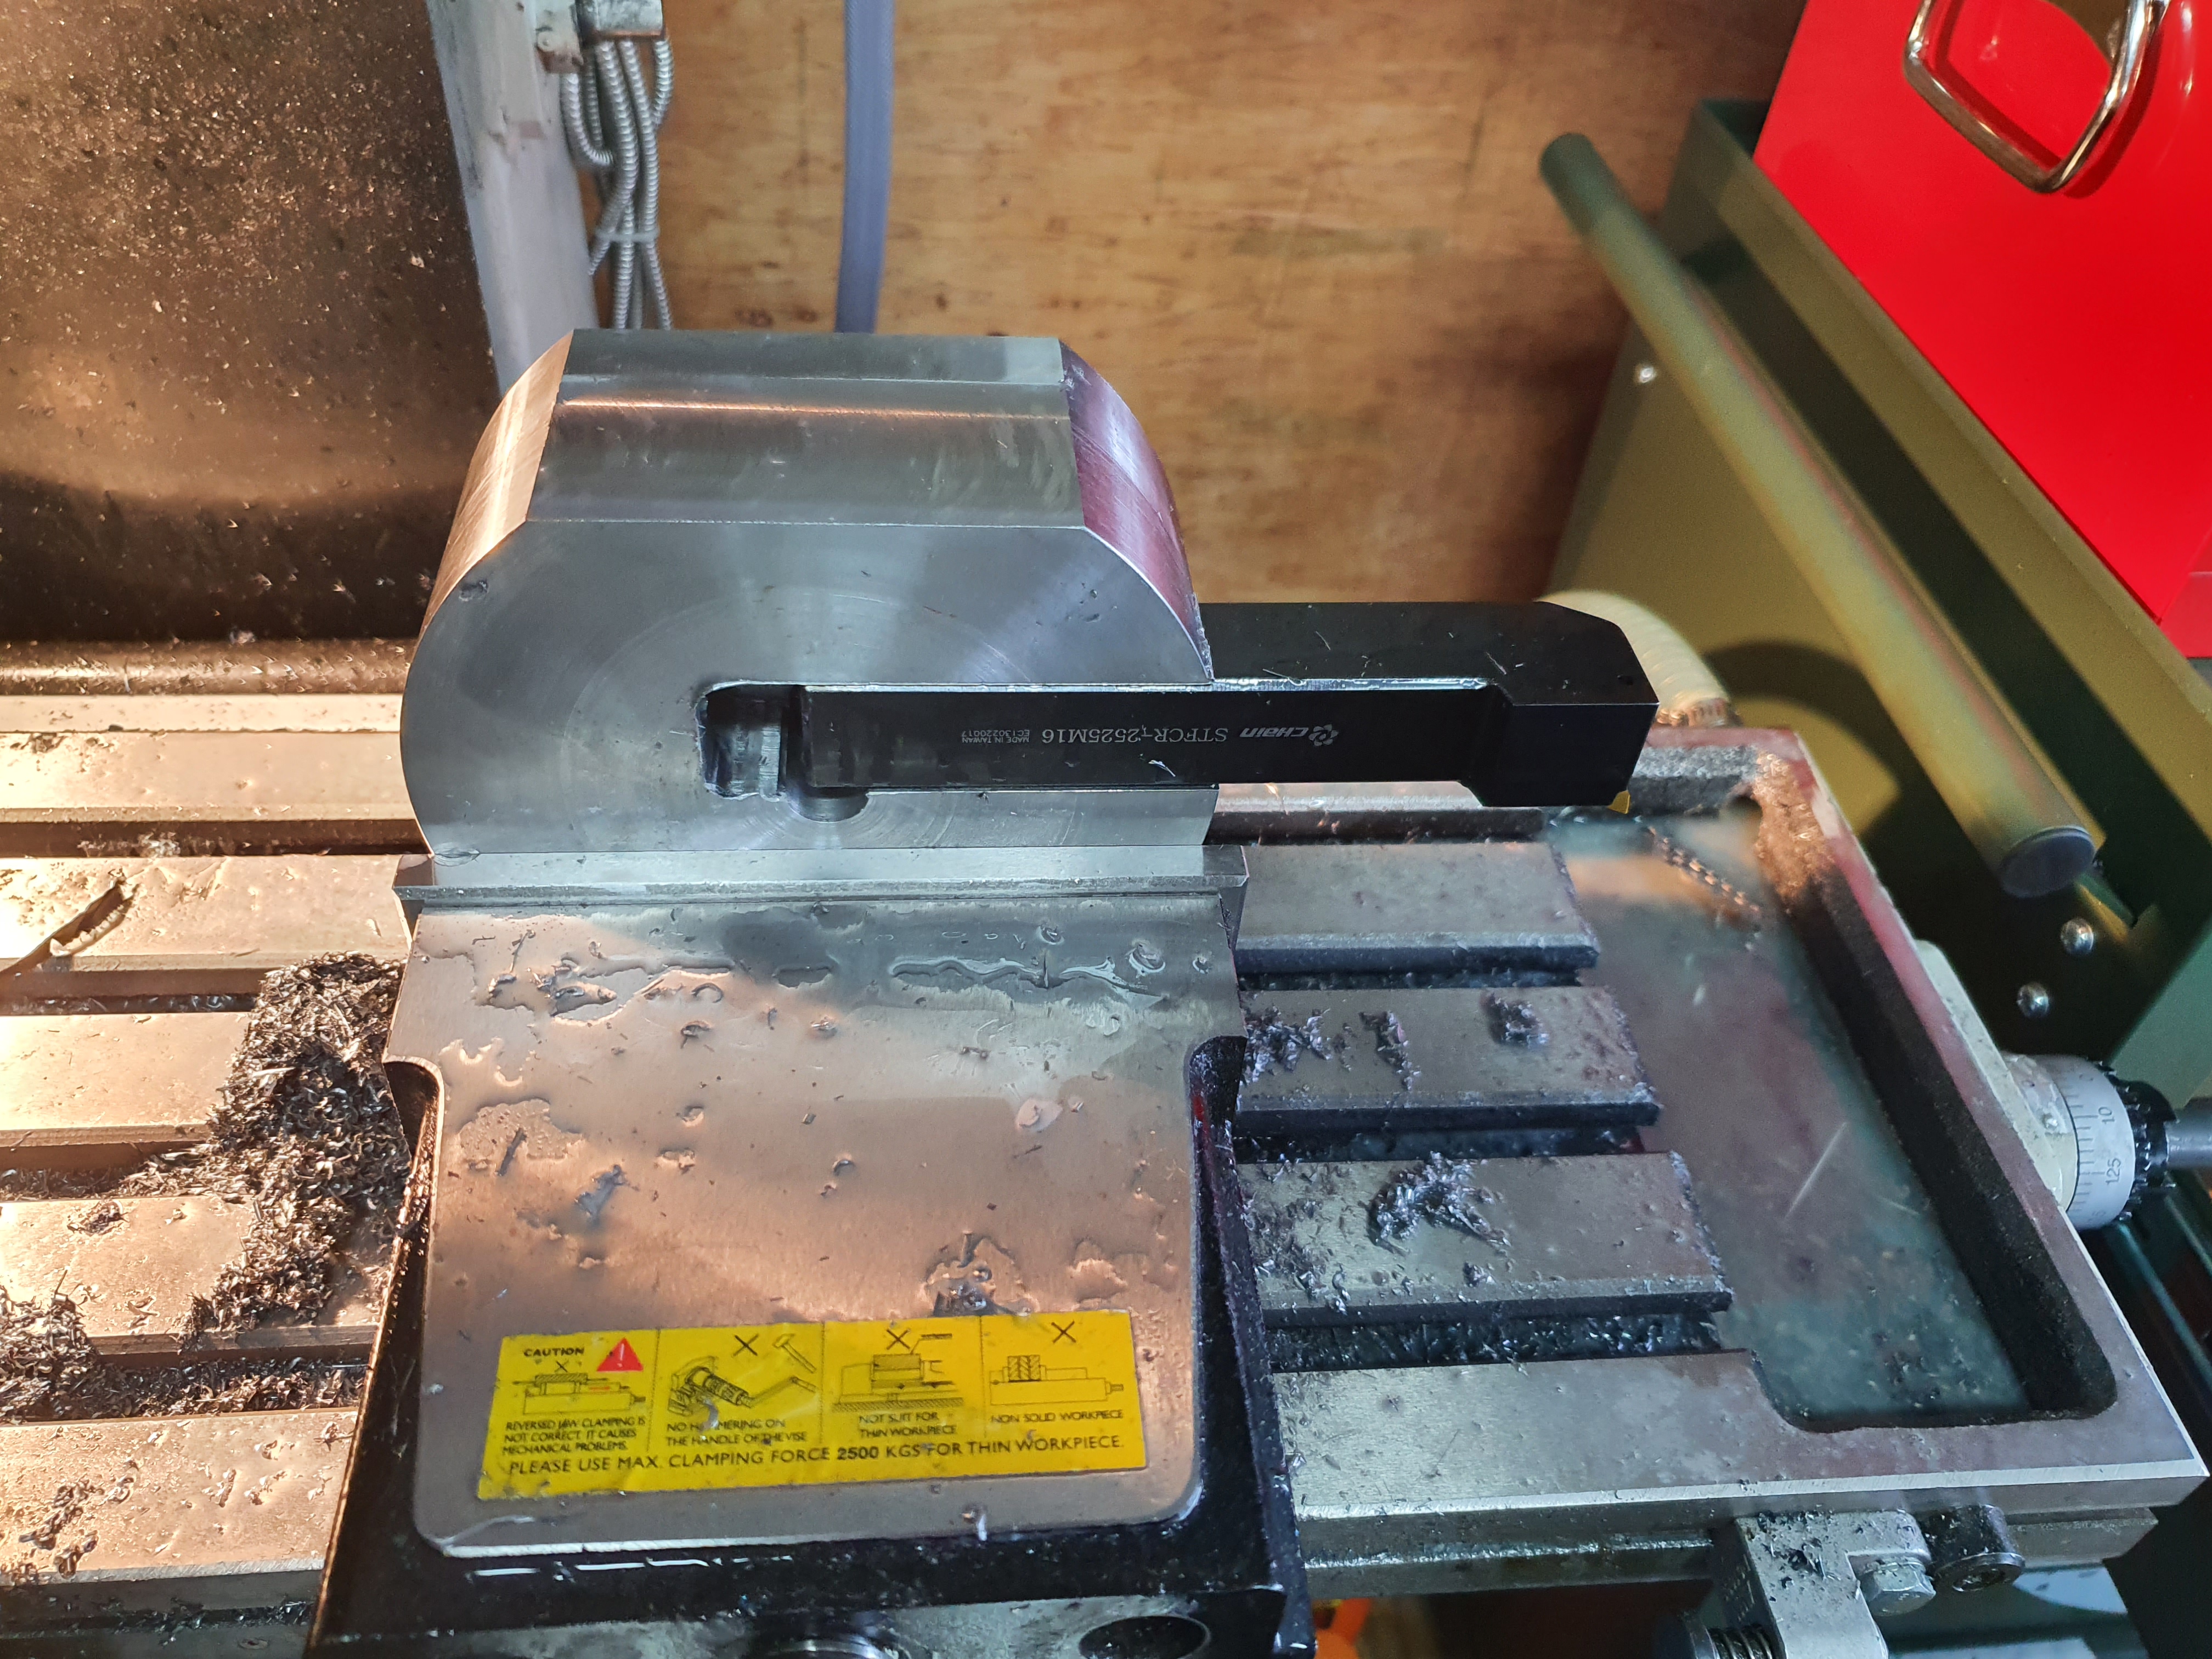
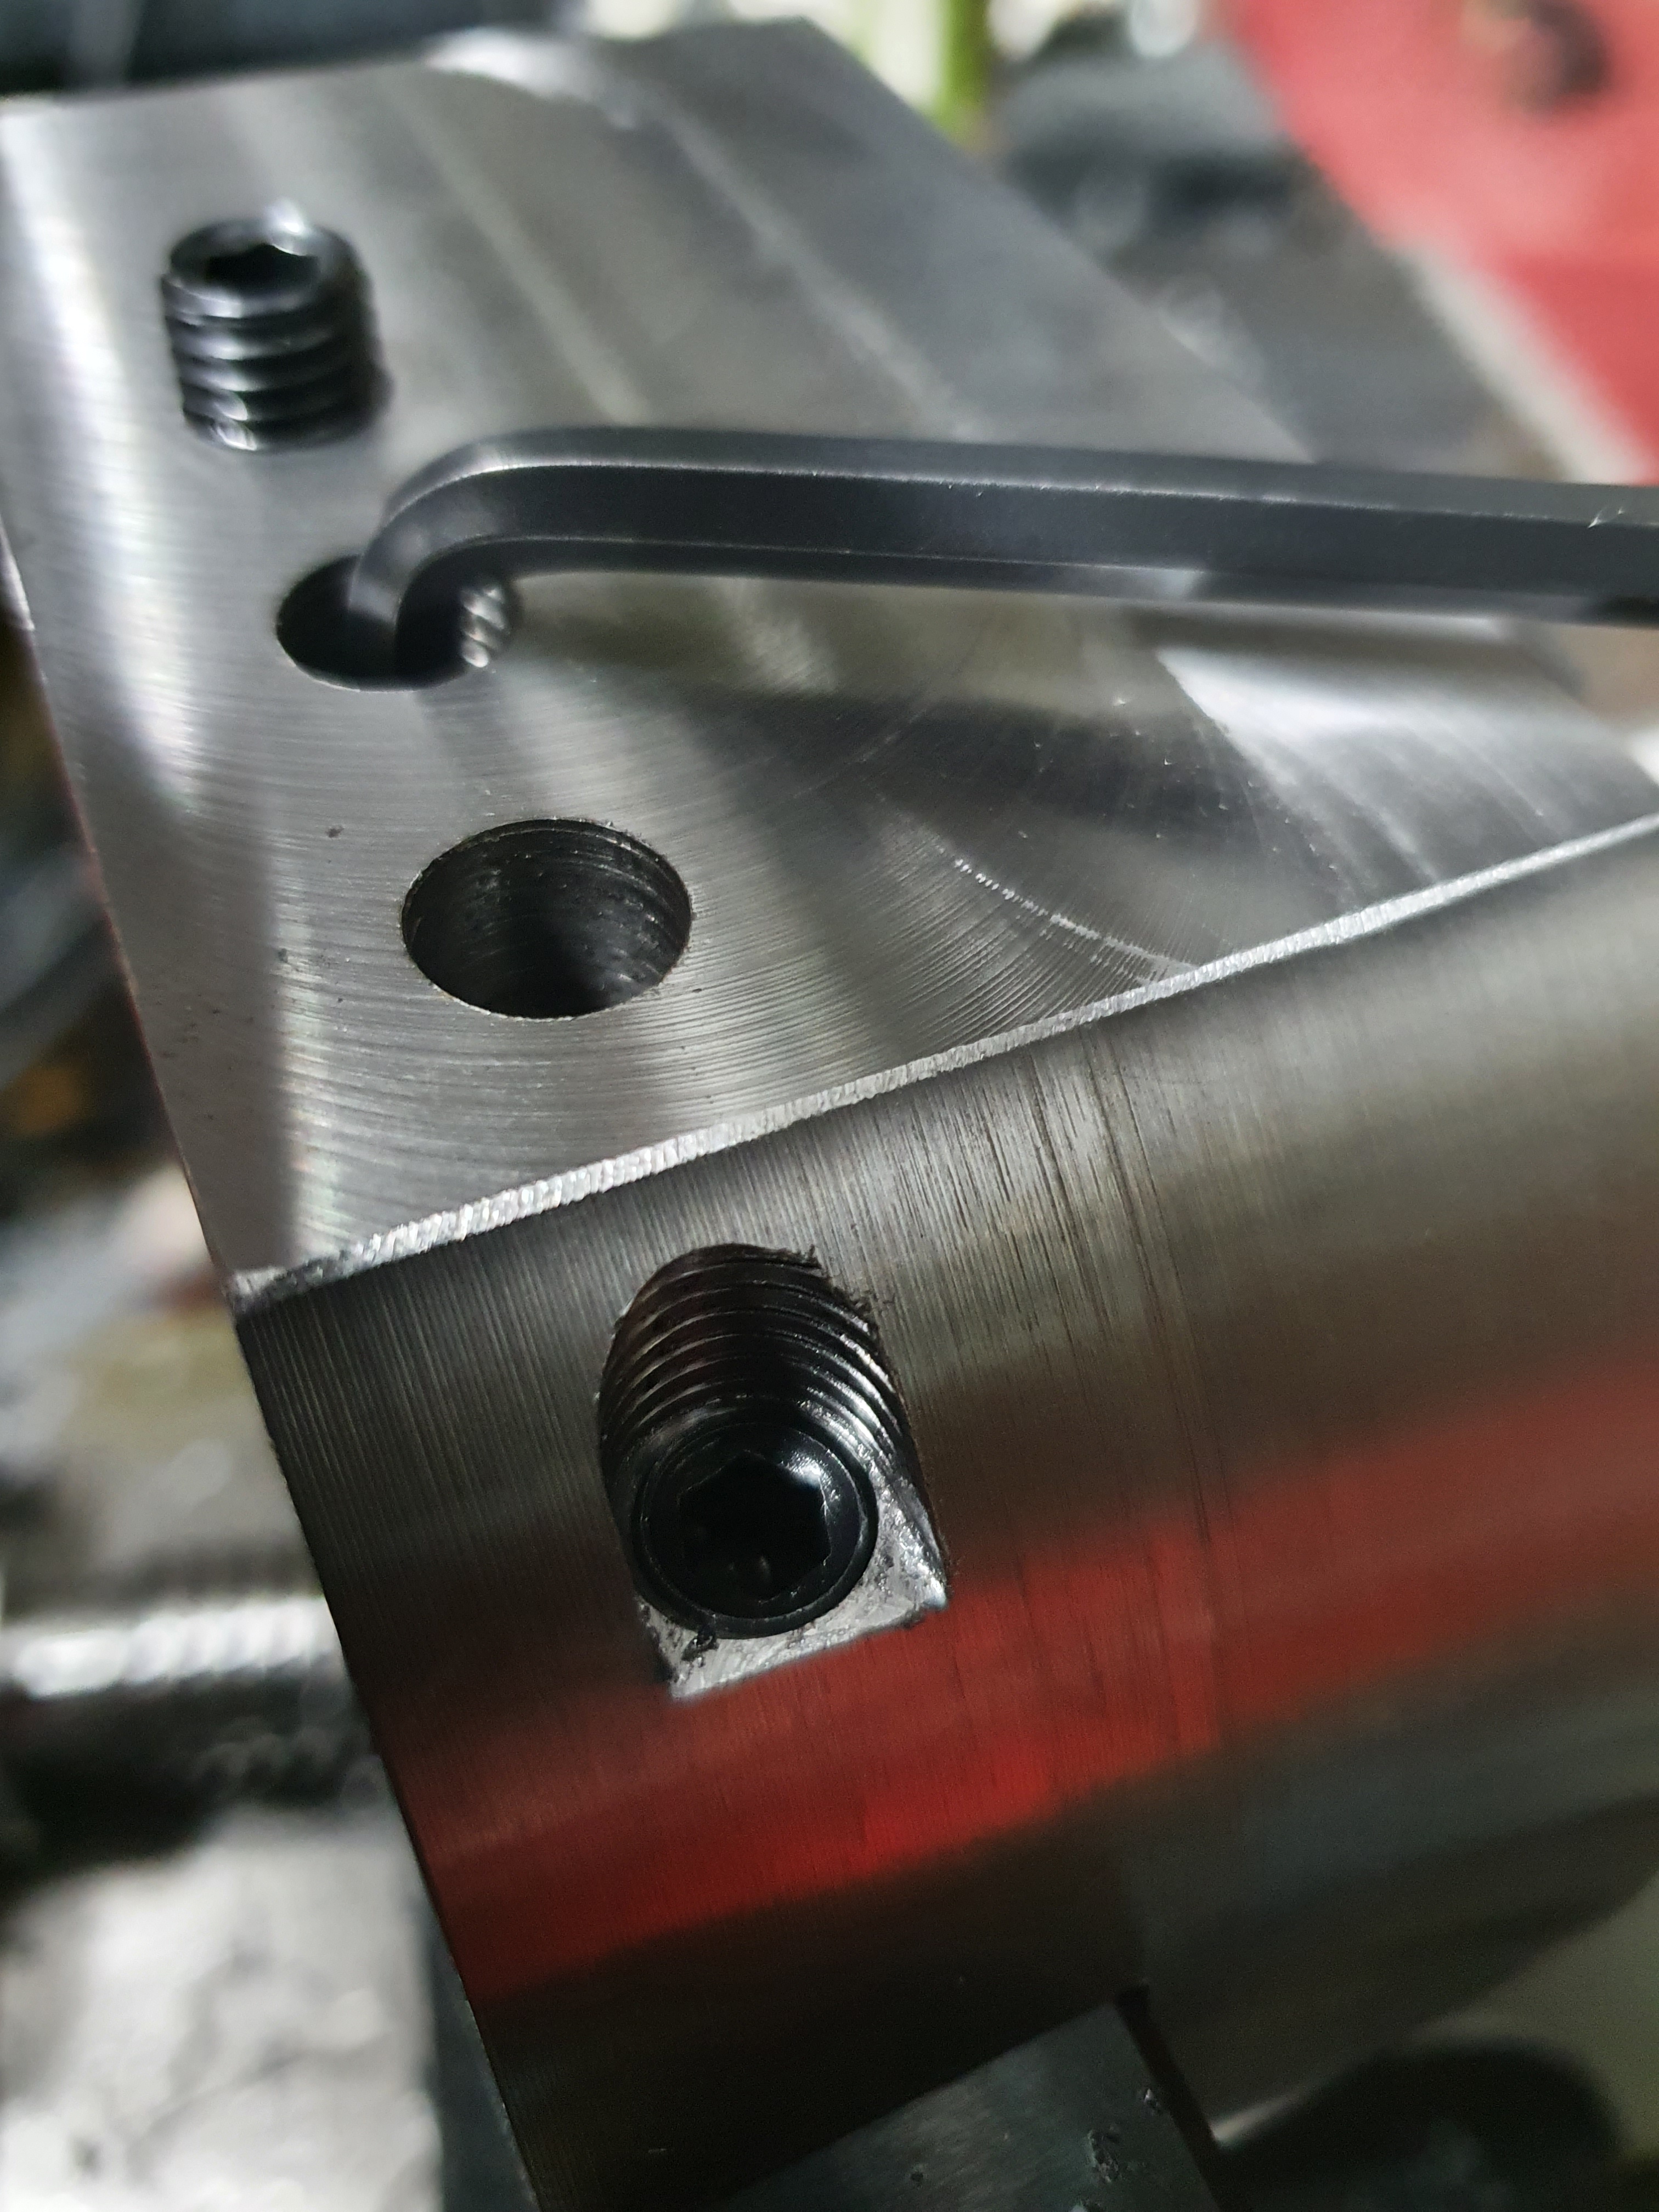
After a test fit of the arm, we drilled and tapped holes for some grub screws. The finished item will spin at 900RPM, so it’s important the fit is not only snug, but secure too.

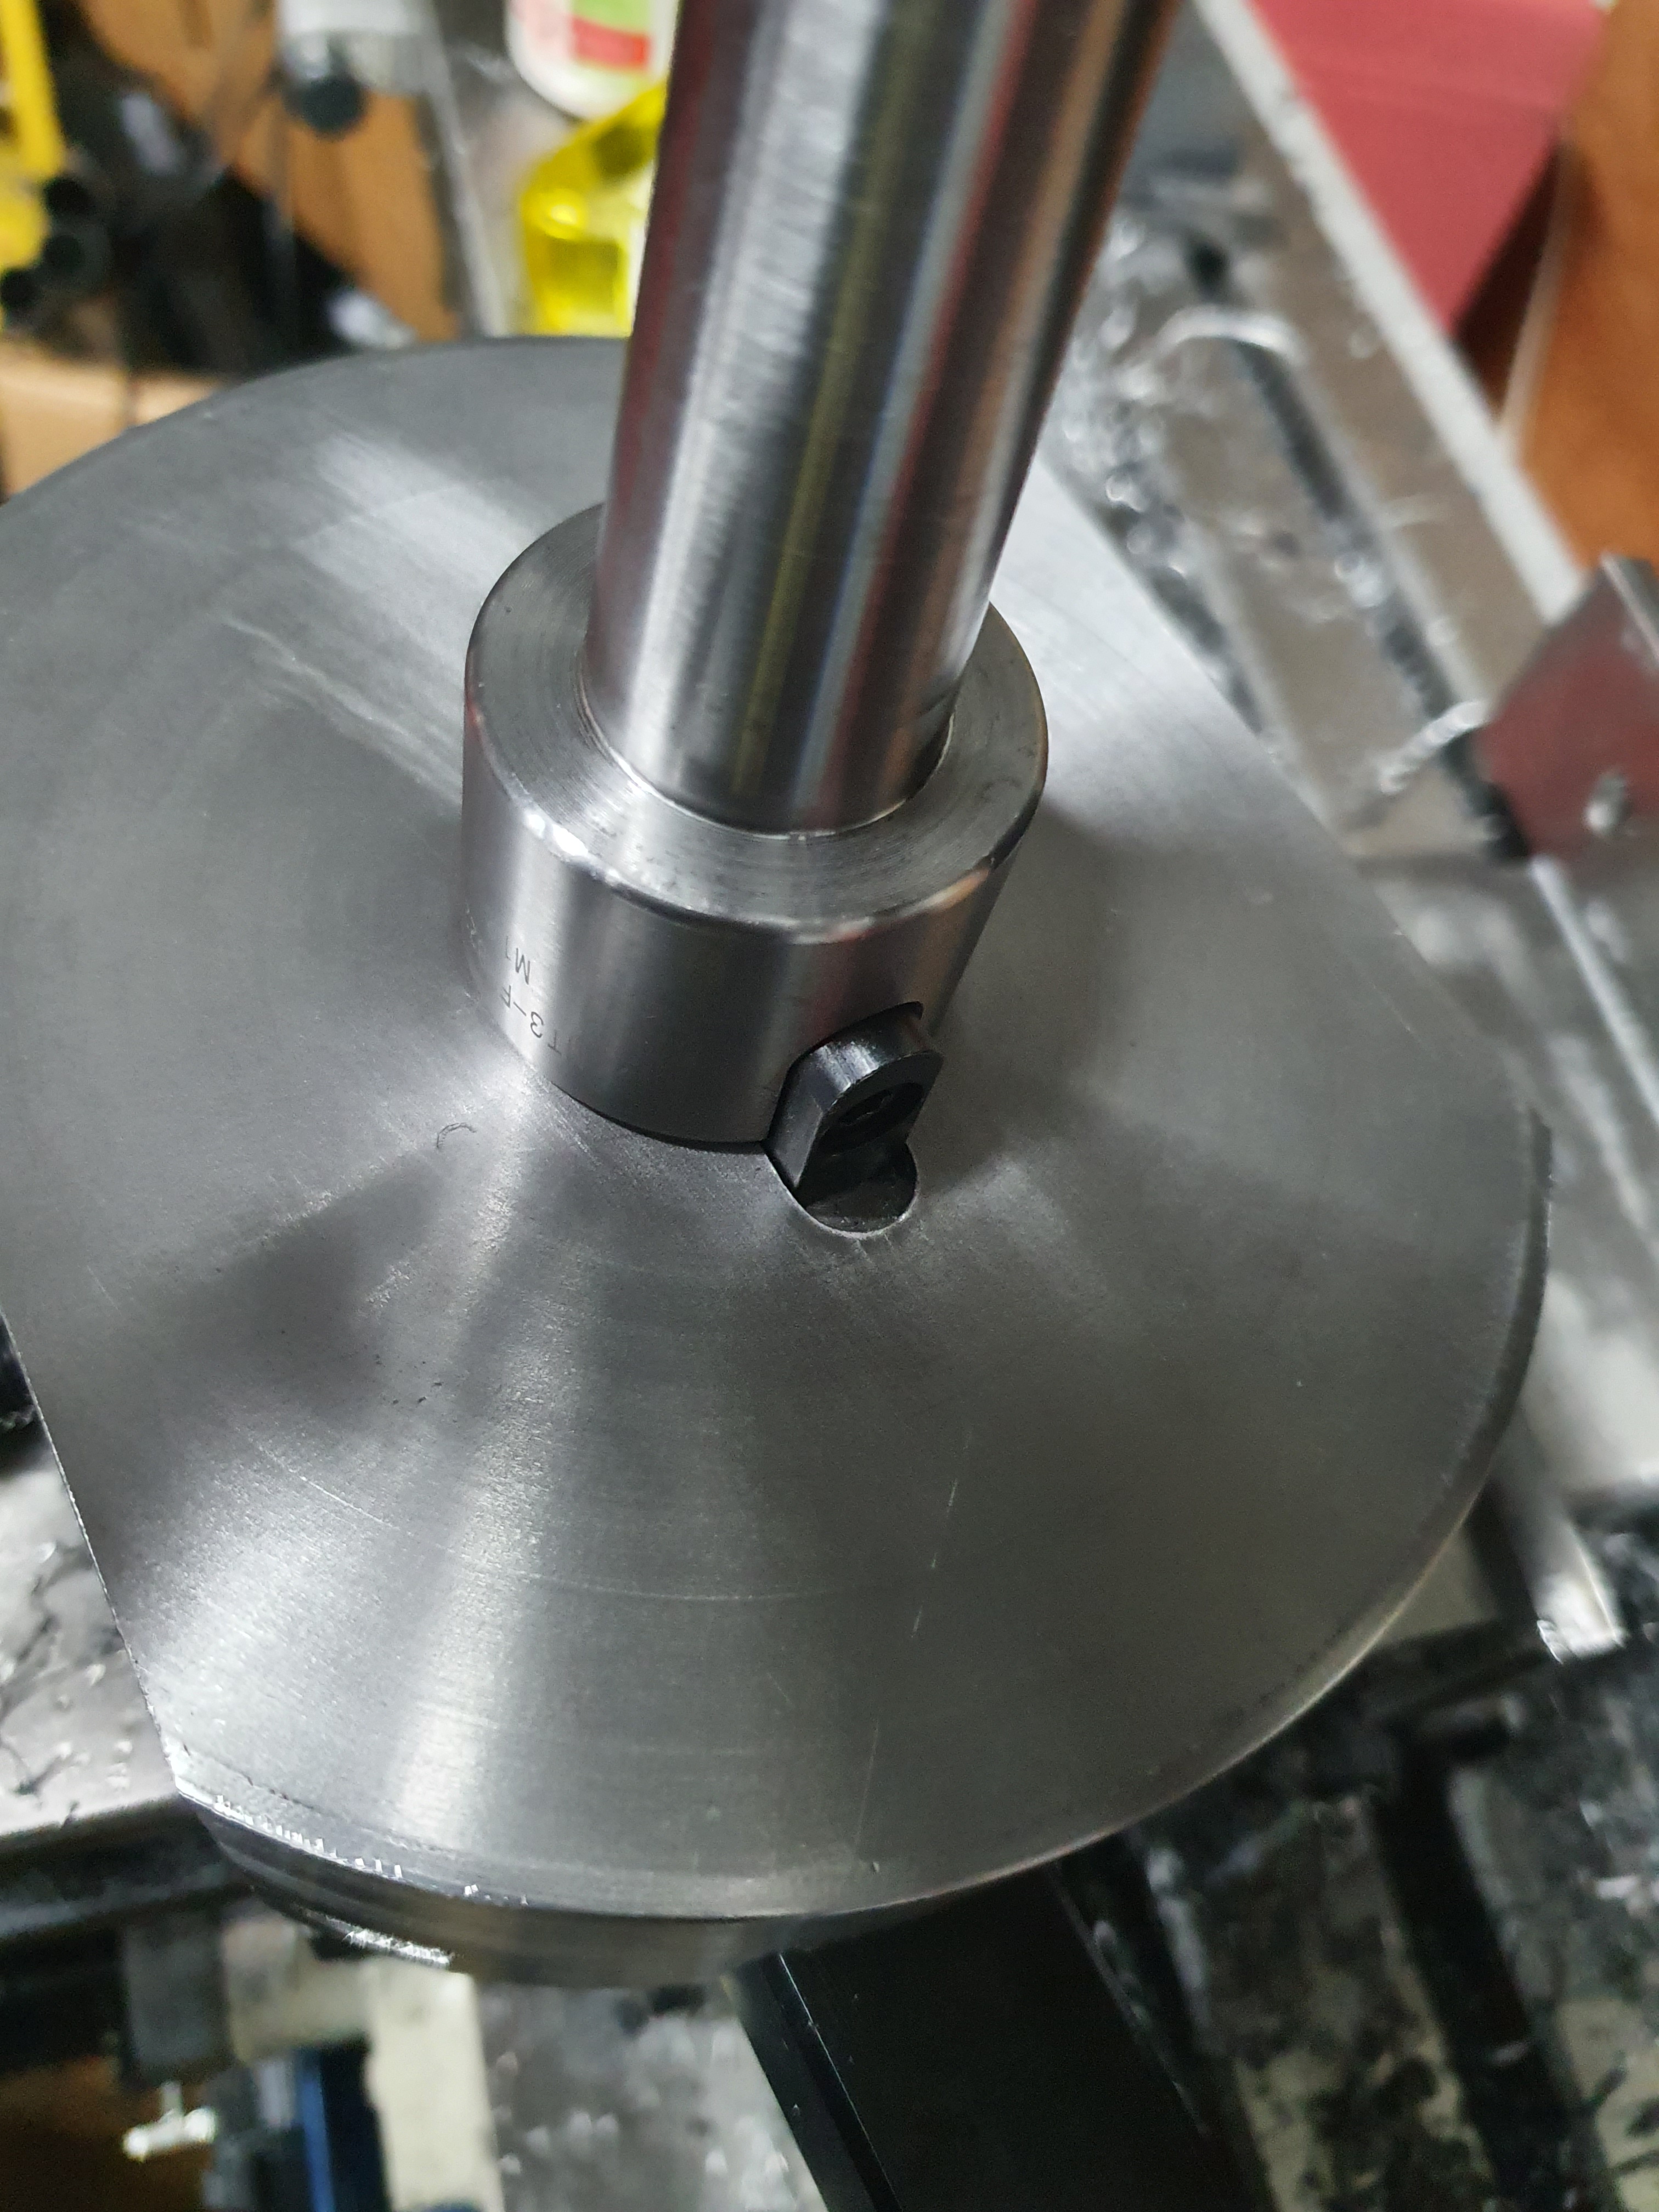
And the final product mounted in the mill, ready for use!